Why Wood Floor Waxing creates that “quiet luxury” look
If you’ve ever admired a floor that seems to glow from within—deep, silky, and effortlessly elegant—there’s a good chance you were looking at the results of expert-level Wood Floor Waxing. Done properly, this approach doesn’t smother the character of timber under a thick plastic layer; it nourishes the surface, enhances the grain, and builds a hand-rubbed sheen that looks richer with every careful buff. This article tours real-world examples, explores the craft behind the finish, and shows when wax is the right choice (and when it isn’t).

Why wax can make timber look extraordinary
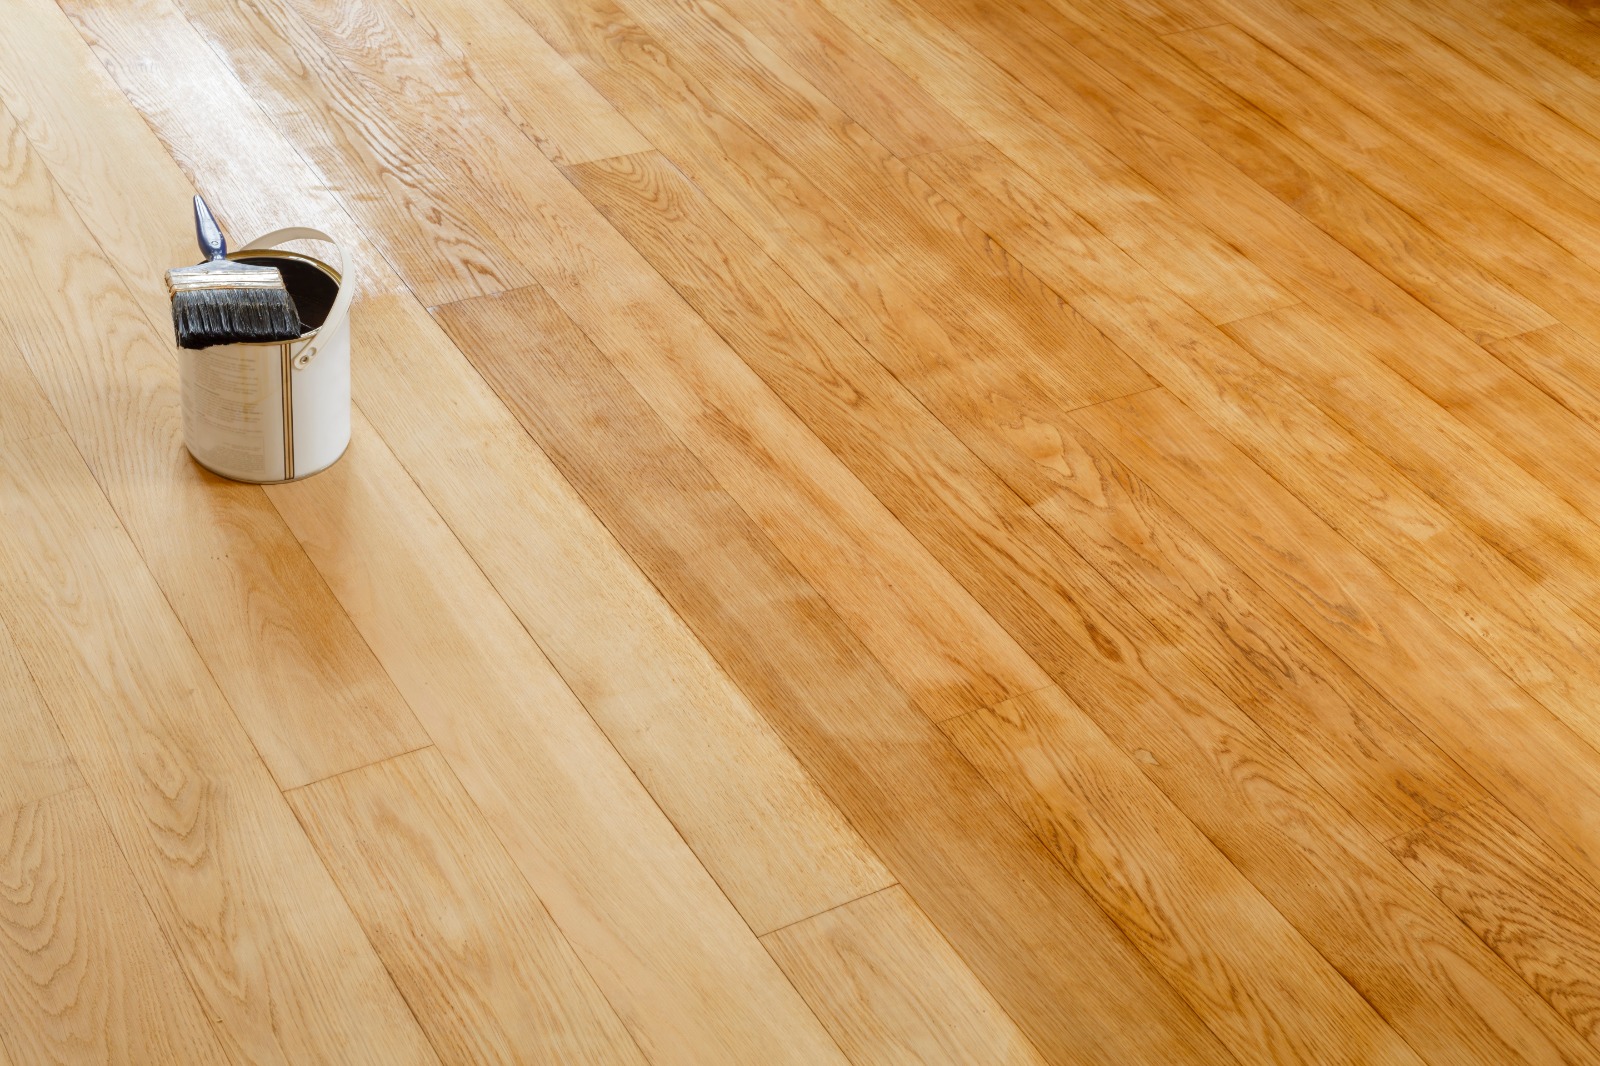
Wax finishes are loved for their tactile, natural feel. Unlike heavy film-building coatings, wax sits closer to the wood, allowing the grain to remain visibly and physically present. Under raking light, you see soft movement rather than a flat mirror; underfoot, you feel timber, not plastic. That balance is the secret to a classic, high-end look that suits both heritage homes and modern interiors.
The aesthetic you notice (even if you don’t know why)
- Depth and grain pop: Wax highlights earlywood–latewood contrasts, making oak medullary rays or walnut swirls stand out with subtle drama.
- Flexible sheen: From super-matt to quiet satin, trained hands can tune the sheen to the room’s style, lighting, and expected wear.
- Warmth over time: As the wax bed builds with periodic maintenance, the floor develops a patina that seems to glow—especially in evening light or in rooms with warm-colour lamps.
The practical benefits behind the beauty
- Spot repairability: Minor scuffs can often be re-blended locally without redoing the whole room.
- Comfort and traction: Properly buffed wax offers a pleasant, non-slippery feel—particularly appreciated in hallways and dining spaces.
- Low-VOC options: Premium paste waxes and hardwax products can be chosen for low odour and lower environmental impact compared with some solvent-heavy varnishes.
Preparation: the unsung hero of a flawless wax finish
No finish—however expensive—will look good on poorly prepared timber. The finest projects share a methodical preparation process:
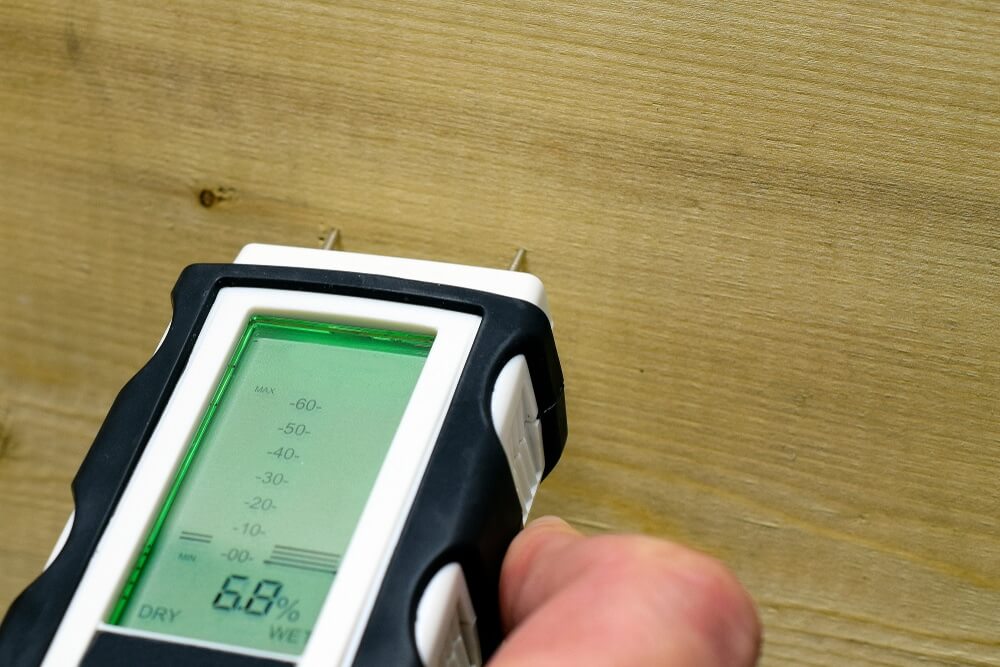
- Moisture check and acclimatisation: Boards are tested to make sure they’re within a healthy moisture range. Cupping, crowning, or edge lift is assessed and corrected where feasible.
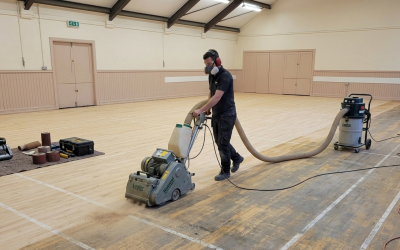
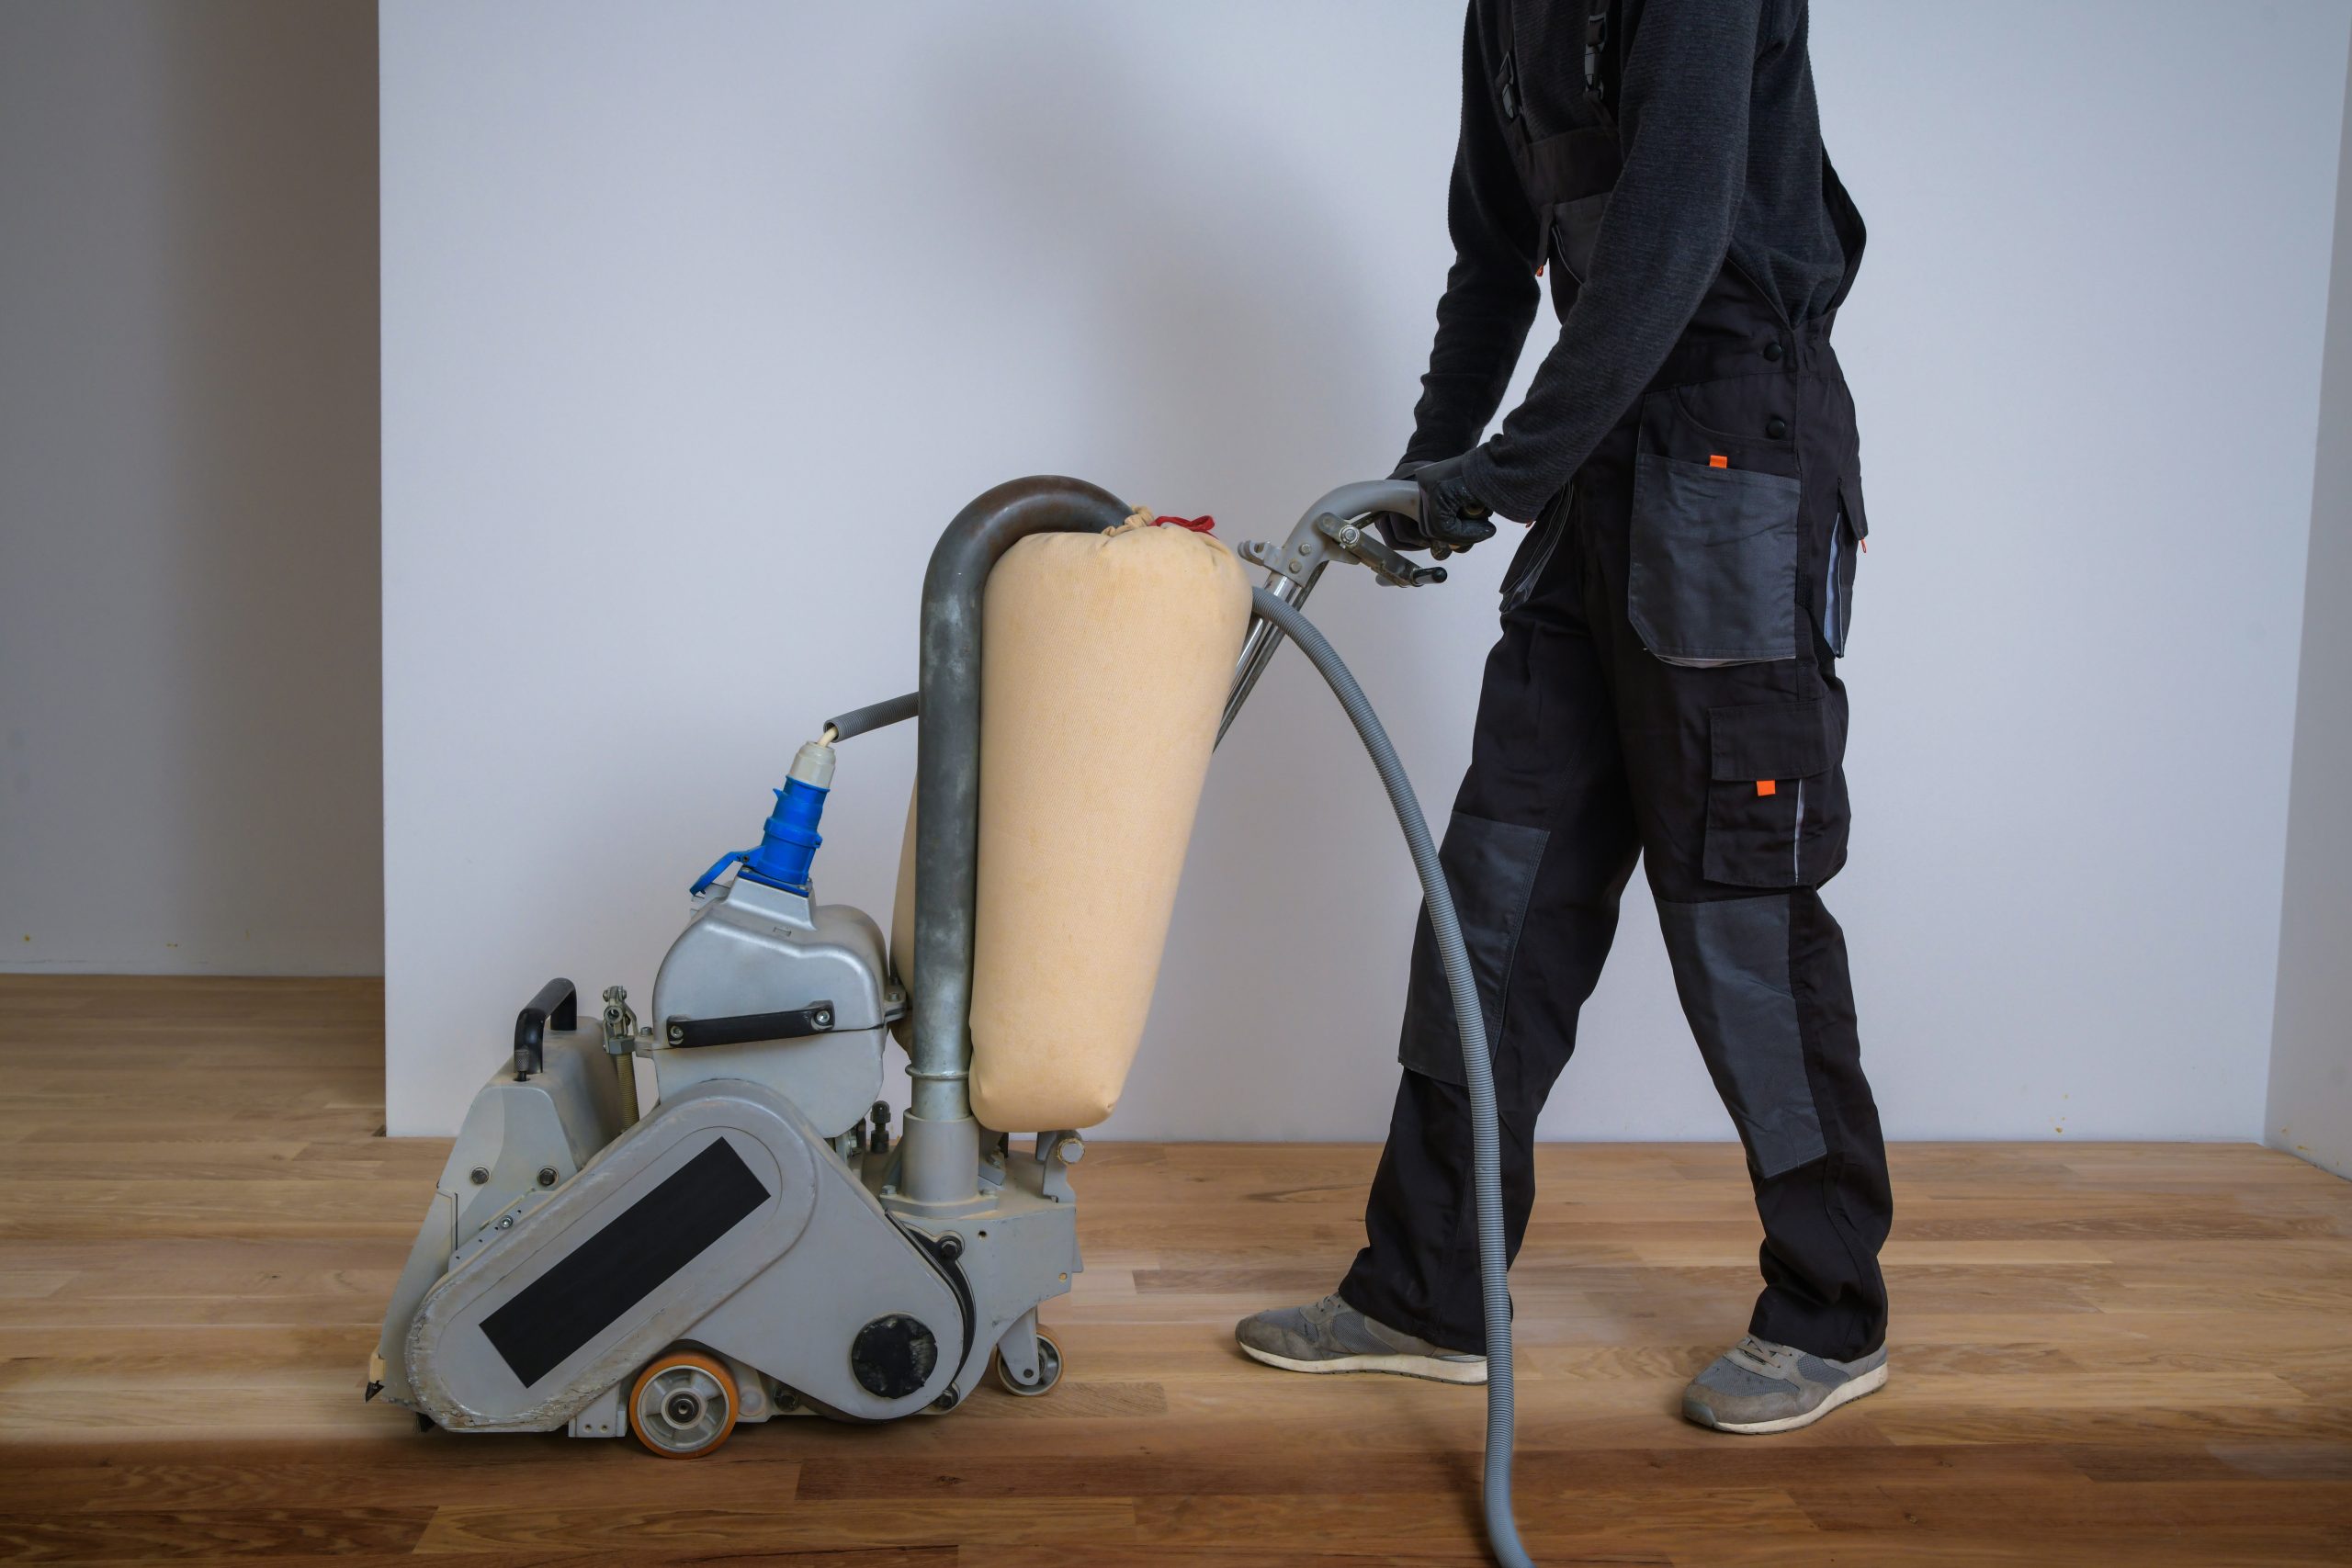
- Progressive sanding: Abrasive grits are stepped up in consistent increments to remove old coatings and flatten the field without dish-out. Care is taken along edges and at thresholds to avoid picture framing.
- Gap management: Fine slivers, sympathetic fillers, or resin mixes are used to close drafts in old pine or herringbone without creating unsightly, rigid lines.
- Dust control: Meticulous vacuuming between passes prevents nibs that ruin the final buff.
- Stain or tone (if required): When a deeper or cooler tone is desired, compatible stains are applied with even, lap-free technique. Patch tests confirm the final colour under wax.
- Priming/oiling (project-dependent): Some professionals lay a thin oil or conditioner to balance absorption before the wax layers go on, particularly with thirsty species or mixed-age repairs.
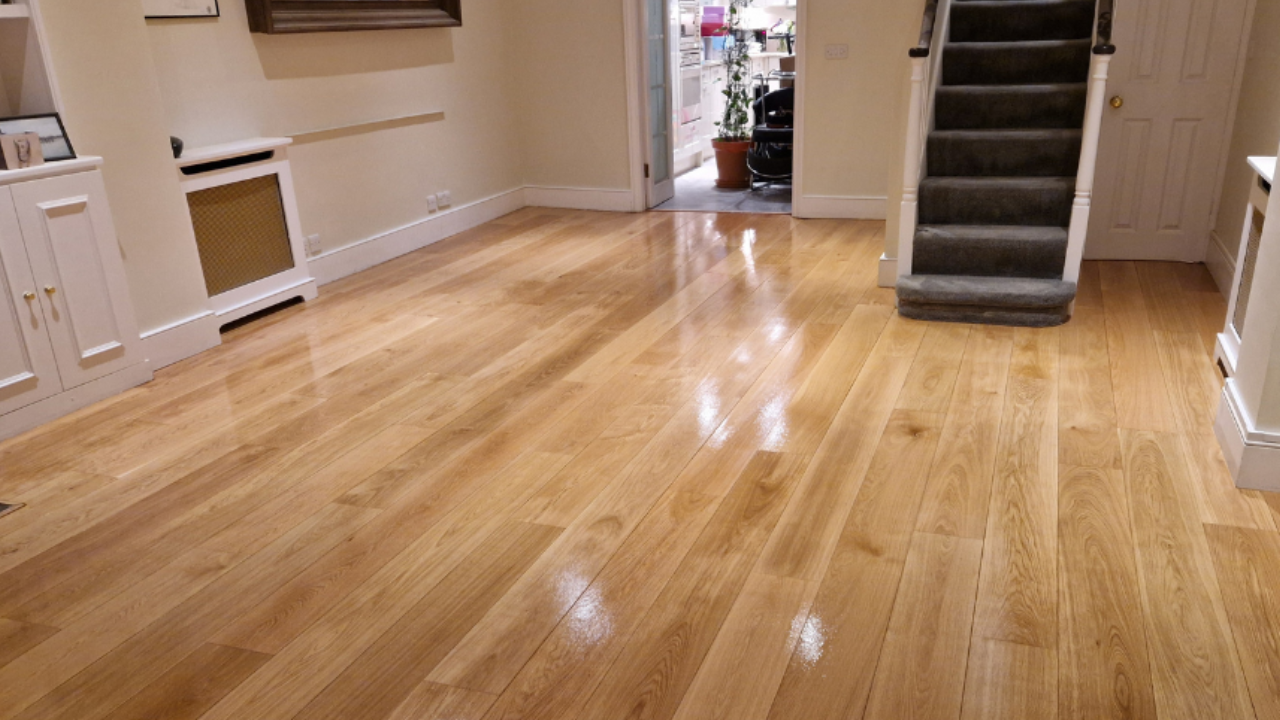
The result of all this? A surface that accepts wax evenly, buffs cleanly, and reflects light in a gentle, consistent way.
How professionals build the finish
- Choosing the wax: Paste waxes, hardwax products, and specialist blends each have their place. Pastes create that classic hand-rubbed look; hardwax formulations add durability on busy floors.
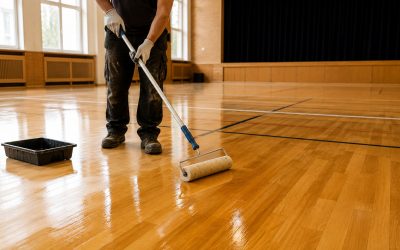
- Application technique: Thin, controlled coats are massaged in with pads or cloths. Overloading is the enemy: too much product leaves smears that never quite cure.
- Curing and buffing: Time is allowed for solvents to flash off, then the surface is buffed—often in stages—to achieve an even glow. Pros use different pads (white, beige) to dial the sheen precisely.
- Final inspection under varied light: Raking light reveals swirls, missed edges, or pressure marks. A second buff corrects the last 5%, which is where the “wow” lives.
Case study 1: Herringbone oak in a Chelsea townhouse
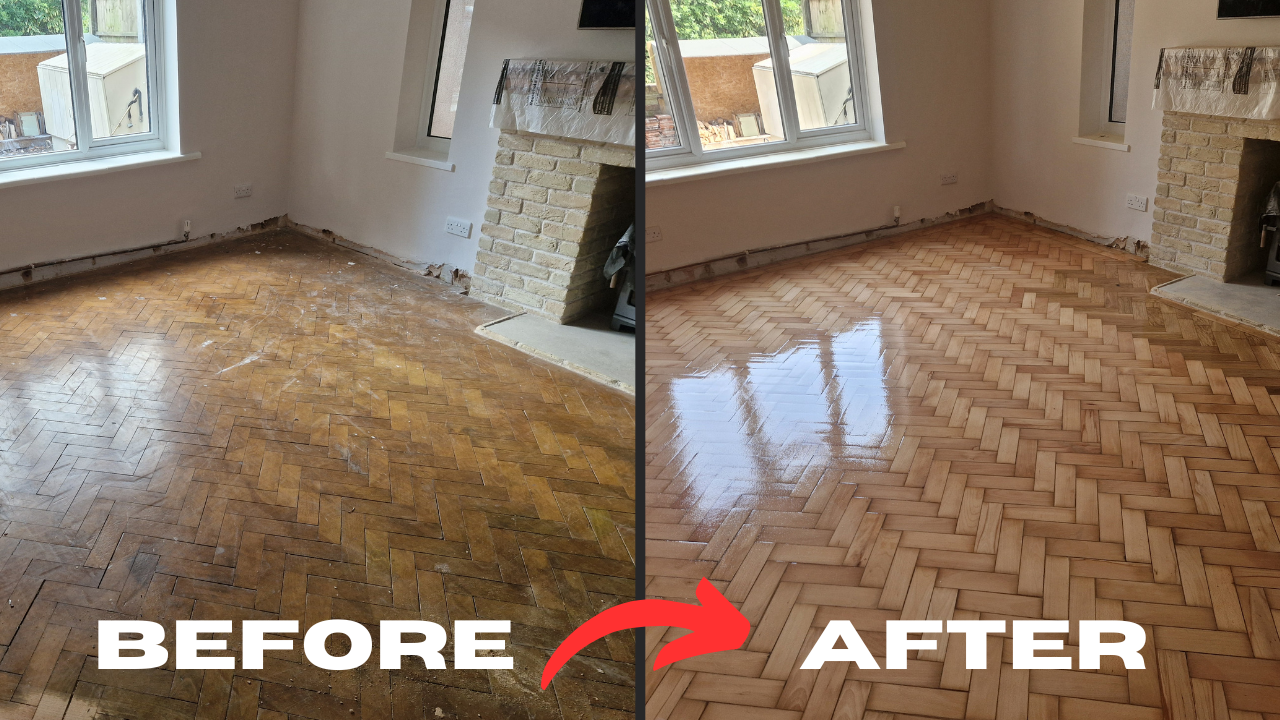
A 1930s herringbone oak floor had dulled under layers of ageing lacquer. The brief was simple: restore the pattern, keep the period feel, and avoid the plasticky shine that fought with original brass details and linen upholstery. After a careful sand to flatten past cupping, subtle gaps were filled with oak-tone resin, and the surface was conditioned. The team chose a classic paste approach, then buffed progressively to a whisper-satin glow.
The transformation was striking. The oak’s medullary rays reappeared with depth, edges looked crisp yet soft to the eye, and the room felt larger because the floor reflected light naturally rather than bouncing it harshly. The homeowners loved the gentle warmth underfoot and how the finish complemented their linen-and-brass palette. In this project, professional Wood Floor Waxing delivered a quiet luxury that would have been lost under a thick, glossy film.
Case study 2: Victorian pine hallway, revived without losing history
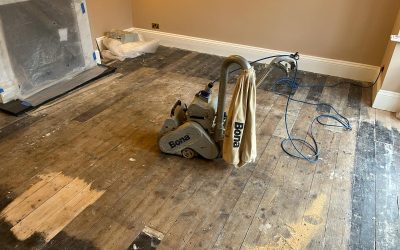
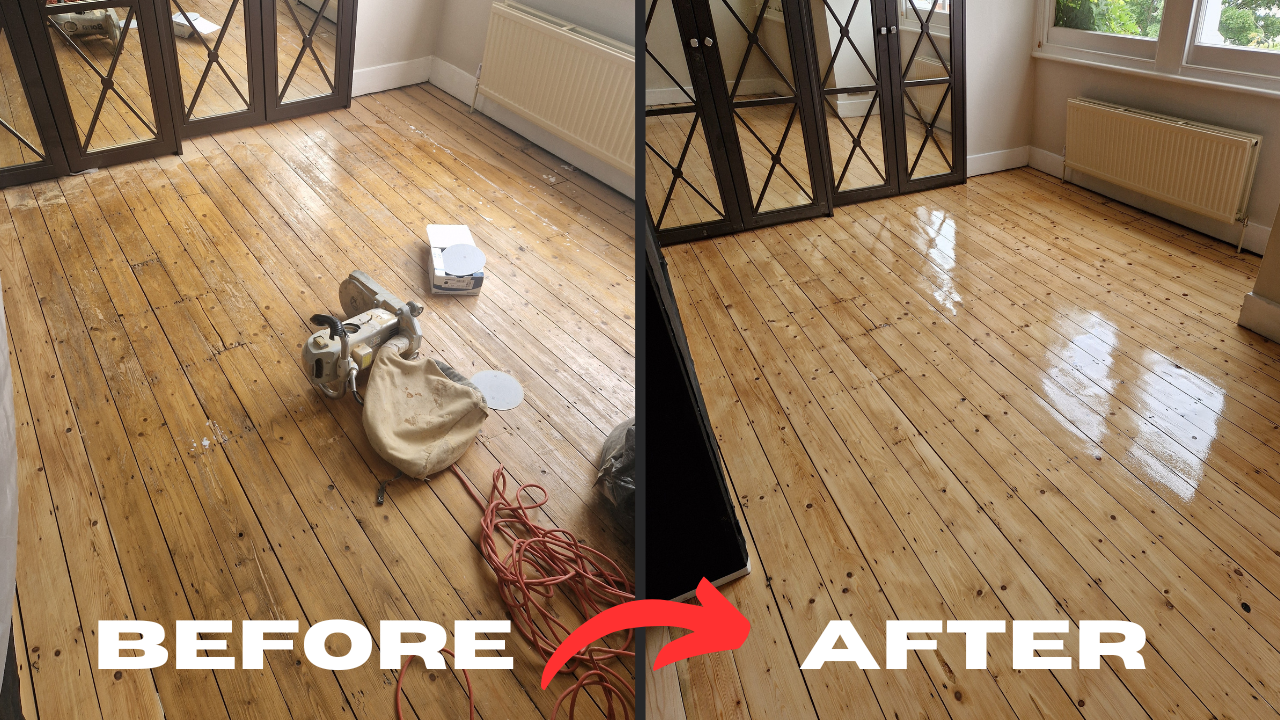
Victorian pine boards often tell stories—old nail holes, knots, and honest wear. The client wanted to keep that narrative but remove the muddiness of old shellac and DIY stain. After sanding with restraint (retaining subtle undulations that give period floors their charm), gaps were treated to control draughts without rigid, ruler-straight lines.
A pale, breathable toning wash cooled down orange hues without erasing the timber’s character. Wax was applied sparingly and buffed to a low sheen. Now the hallway looks fresh, airy, and cared for—period, not precious. Guests notice the honeyed depth and the way the boards lead the eye from front door to kitchen, as if the house is quietly welcoming you in.
Case study 3: School hall maple—the satin solution for a busy space
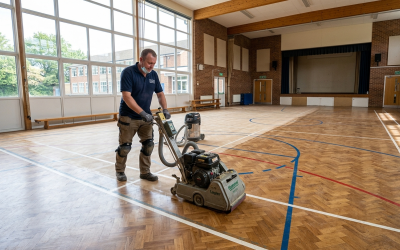
Maple can look clinical under high-gloss coatings. In a busy school hall where assemblies, concerts, and indoor sports share the same floor, the headteacher wanted warmer visuals, good traction, and simple maintenance. After correcting minor crowning, the team used a controlled sanding sequence to flatten the field and lighten black scuffs near goal lines.
A robust wax system was chosen and buffed to a satin that looks elegant from the back row of the hall but never slippery to pupils. Day-to-day dings are easy to blend out during holiday maintenance. Here, the decision to use professional Wood Floor Waxing made the space feel more community-minded and less like a laboratory, while still standing up to busy timetables.
Case study 4: Contemporary walnut in a riverside flat
Walnut is all about tone—chocolate, aubergine shadows, and rippling figure. The apartment had full-height windows with a river view, so any finish would be challenged by intense lateral light. A thick varnish would have revealed every micro-scratch; an oil alone risked looking dry in winter.
The team balanced the surface with a light conditioner, then applied wax in two ultra-thin passes. The final buff eased reflections so you saw movement, not glare. Furniture—slim metal legs and boucle upholstery—looked curated rather than staged, because the floor wasn’t shouting. Maintenance is simple: a periodic buff restores the glow without sanding, protecting the engineered wear layer over the long term.
Case study 5: Country kitchen oak—resilience without the plastic look
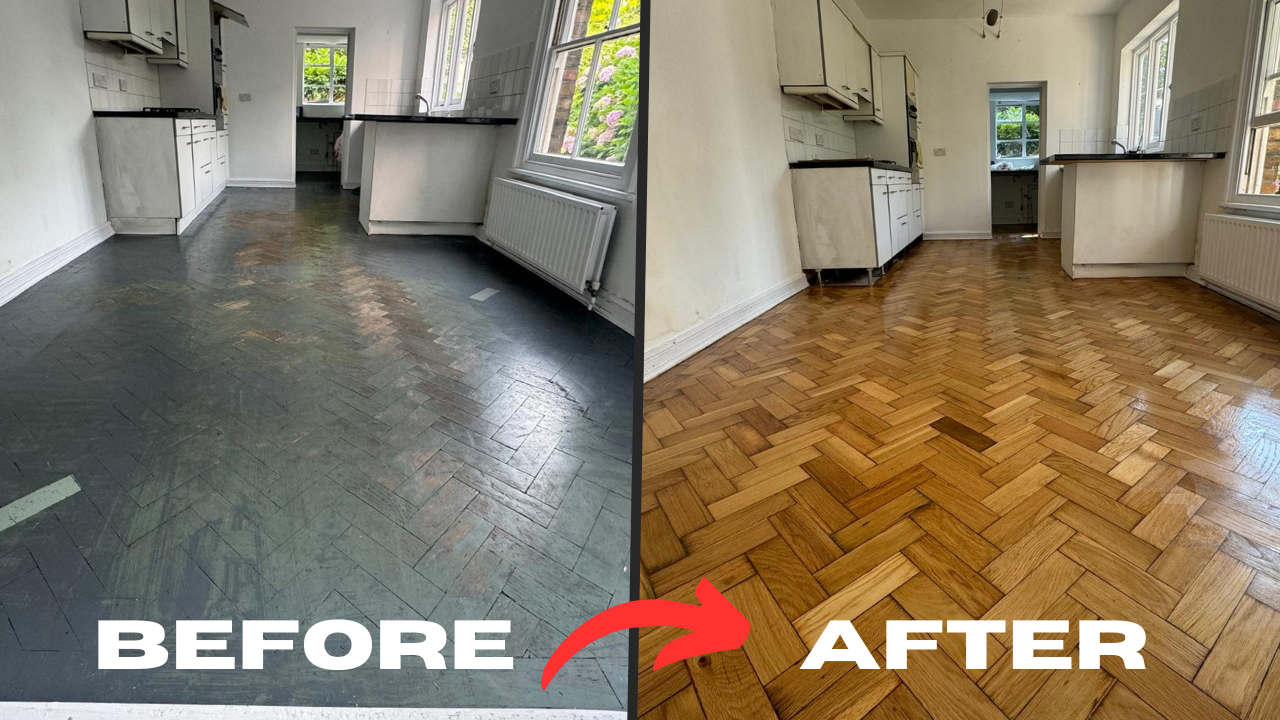
Kitchens can be tricky for any finish due to steam, splashes, and high traffic around islands. Here, the owners wanted the warm, hand-finished look but were worried about water marks. The contractor combined careful sealing at vulnerable points (sink run, dishwasher edges) with a wax approach designed for busy zones. Small rugs were strategically placed at entry points, and clear maintenance guidance was given: lift-wipe spills promptly, then buff back the area during routine care.
The result? A family kitchen that feels cosy and authentic. Dog paws don’t rattle your nerves, and chairs slide with a muted hush rather than a squeak. Crucially, the floor looks better after a year of lived-in family life—more settled, more “theirs”.
Case study 6: Library reading room—calm, matt sophistication
A private library needed a finish that would disappear under shelves and armchairs, letting spines and fabrics take centre stage. A very low sheen was specified. After a precision sand, the team used an understated wax blend and kept the buff minimal. Under lamplight, the floor breathes rather than beams; under daylight, you see quiet grain rather than reflections.
Readers notice comfort rather than shine, and the room photographs beautifully without hot spots. It’s a masterclass in restraint: the timber supports the interior without competing with it.
Craft details that separate “nice” from “breathtaking”
1) Sheen matching to the architecture
Grand cornices and reflective marble? You might step up the sheen a notch to balance textures. Intimate rooms with woven fabrics and matte paint? Keep it lower so the palette remains cohesive.
2) Edge work and thresholds
Corners and transitions give away careless work. Pros treat thresholds as mini-projects: crisp lines, no build-up at bars, consistent colour where rooms meet.
3) Lighting checks throughout
Floors look different at 10am, 3pm, and after dark. Good teams inspect in all three, correcting swirls and pressure marks before signing off.
4) Species-aware choices
- Oak: Loves a satin that shows medullary rays.
- Pine: Benefits from toning to calm orange, then a soft glow.
- Walnut: Minimal buff, maximum richness.
- Maple/ash: Avoid glassy glare; aim for a warm satin that doesn’t feel clinical.
5) Honest conversations about use
Kitchens, boot rooms, and wet areas demand realistic expectations. With sensible house rules—mats at doors, felt pads on chairs, quick spill clean-ups—wax can thrive in most living spaces.
Maintenance that keeps the glow
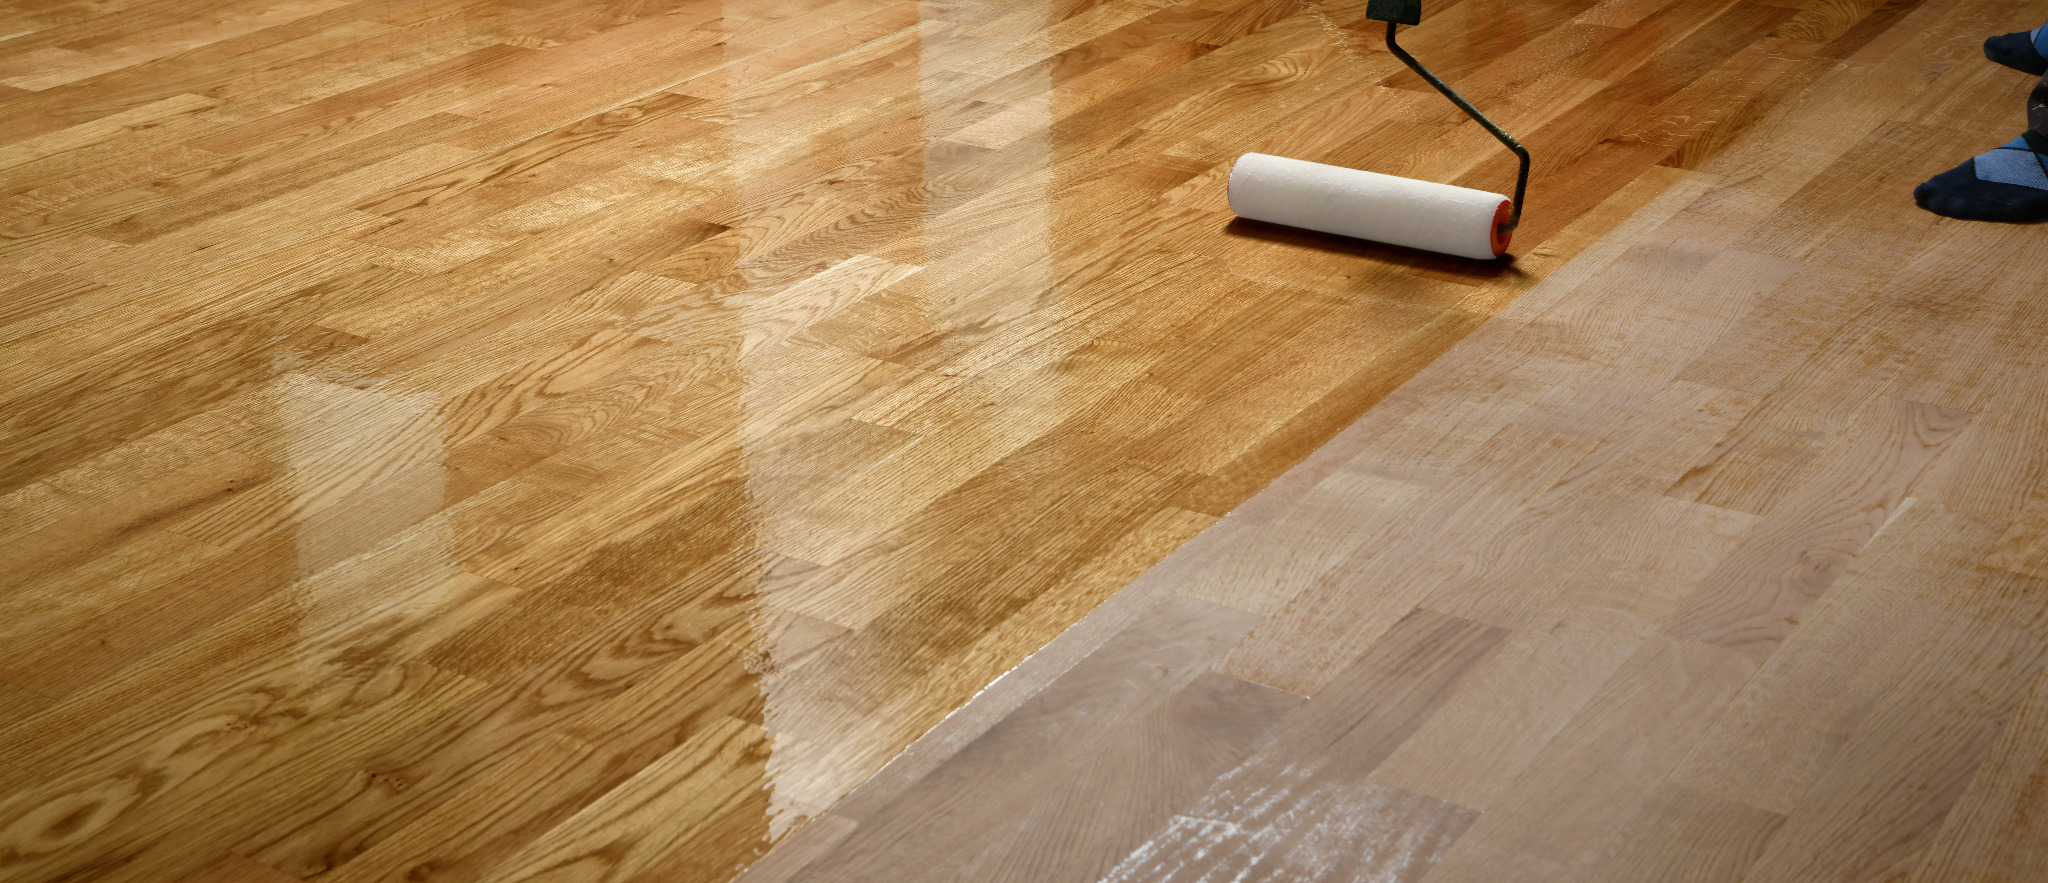
Waxed floors reward light, regular care more than sporadic deep cleans.
- Dry soil first: A soft brush or microfibre mop removes grit that scratches.
- Damp, not wet: When needed, use a well-wrung mop and a pH-appropriate cleaner.
- Buff little and often: A quick buff brings back clarity; it’s faster than you think and far cheaper than full refinishing.
- Spot blends: For heel marks or pet scuffs, a local treatment and small buff usually makes them vanish without telegraphing a patch.
Handled this way, a waxed floor can go years before any heavy work is considered—often longer than film finishes that chip or cloud and demand wholesale sanding.

Where Wood Floor Waxing wins (and where it doesn’t)
It excels when:
- You want natural tactility and a hand-finished look that matures with age.
- The space benefits from nuanced sheen control rather than high reflectivity.
- You value spot-repairability and dislike the disruption of full-room re-coats.
It’s not ideal when:
- The area faces persistent standing water, frequent saturation, or commercial kitchen conditions.
- You require a very thick, high-gloss protective film for specific industrial demands.
- You’re unwilling to commit to simple, periodic buffing.
A good contractor will tell you when a different system (e.g., a high-build 2K varnish or a penetrating oil-poly blend) better suits your reality. The goal is the right finish for your lifestyle, not merely the prettiest photo on day one.
Frequently asked style questions
Will the floor look shiny?
Only if you want it to. Wax can be tuned from ultra-matt through to satin and beyond. Most homeowners prefer a low, sophisticated glow that flatters furnishings without turning the room into a mirror.
Does it darken the wood?
A slight warming is normal, more noticeable on pale species. Skilled pros temper this with conditioners or toning techniques, or they lean into it when warmth suits the scheme.
Is it slippery?
Correctly buffed wax is comfortable and grippy underfoot. Over-application or poor buffing can feel smeary—that’s a technique issue, not an inherent trait.
How long does it last?
Think in terms of maintenance cycles, not “expires in X years”. Little-and-often care preserves the look and avoids disruptive, expensive overhauls.
The quiet luxury of expert technique
What sets breathtaking projects apart is the combination of preparation, product choice, and touch. The hands that sand, the eye that judges sheen under hard daylight, the patience to buff twice rather than rush once—this is what creates floors that feel timeless rather than trendy.
When you step into a room with a beautifully waxed floor, you don’t immediately think “finish”. You notice the calm. The way light is softened. The depth that seems to come from within the timber, not from something spread over the top. That’s the hallmark of craftsmanship.
Bringing it home: commissioning the look you want
If you’re imagining how this would work in your house—perhaps a pine hallway that needs honesty, a sitting room that craves warmth, or a modern flat that needs texture—talk through the following with your contractor:
- Lifestyle and wear patterns: Kids, pets, shoes-on or shoes-off, entertaining style.
- Desired tone and sheen: Bring photos of rooms you love. A good finisher will translate the “feel” you’re after.
- Species and condition: Oak versus pine versus walnut; movement, moisture, and past coatings.
- Maintenance comfort: Are you happy to buff lightly every so often? If not, consider alternatives that suit your habits.
Work with someone who shows you real samples, explains trade-offs plainly, and invites you to inspect under different lights. Insist on clarity about aftercare. Great floors are a partnership between craft and daily life.
Final thoughts
Choosing professional Wood Floor Waxing is less about chasing shine and more about pursuing depth, tactility, and longevity. As the case studies show, the right technique can make oak look architectural, pine feel storied rather than shabby, and high-traffic spaces feel welcoming rather than worn. If your goal is a floor that grows handsomer with time, that can be refreshed without drama, and that elevates everything placed upon it, this approach is a beautifully proven path.
And if you’re ready to see what that glow looks like in your own rooms, explore the possibilities with trusted specialists who can tailor the process to your species, lighting, and lifestyle. Your timber already has the character; the right hands will reveal it.