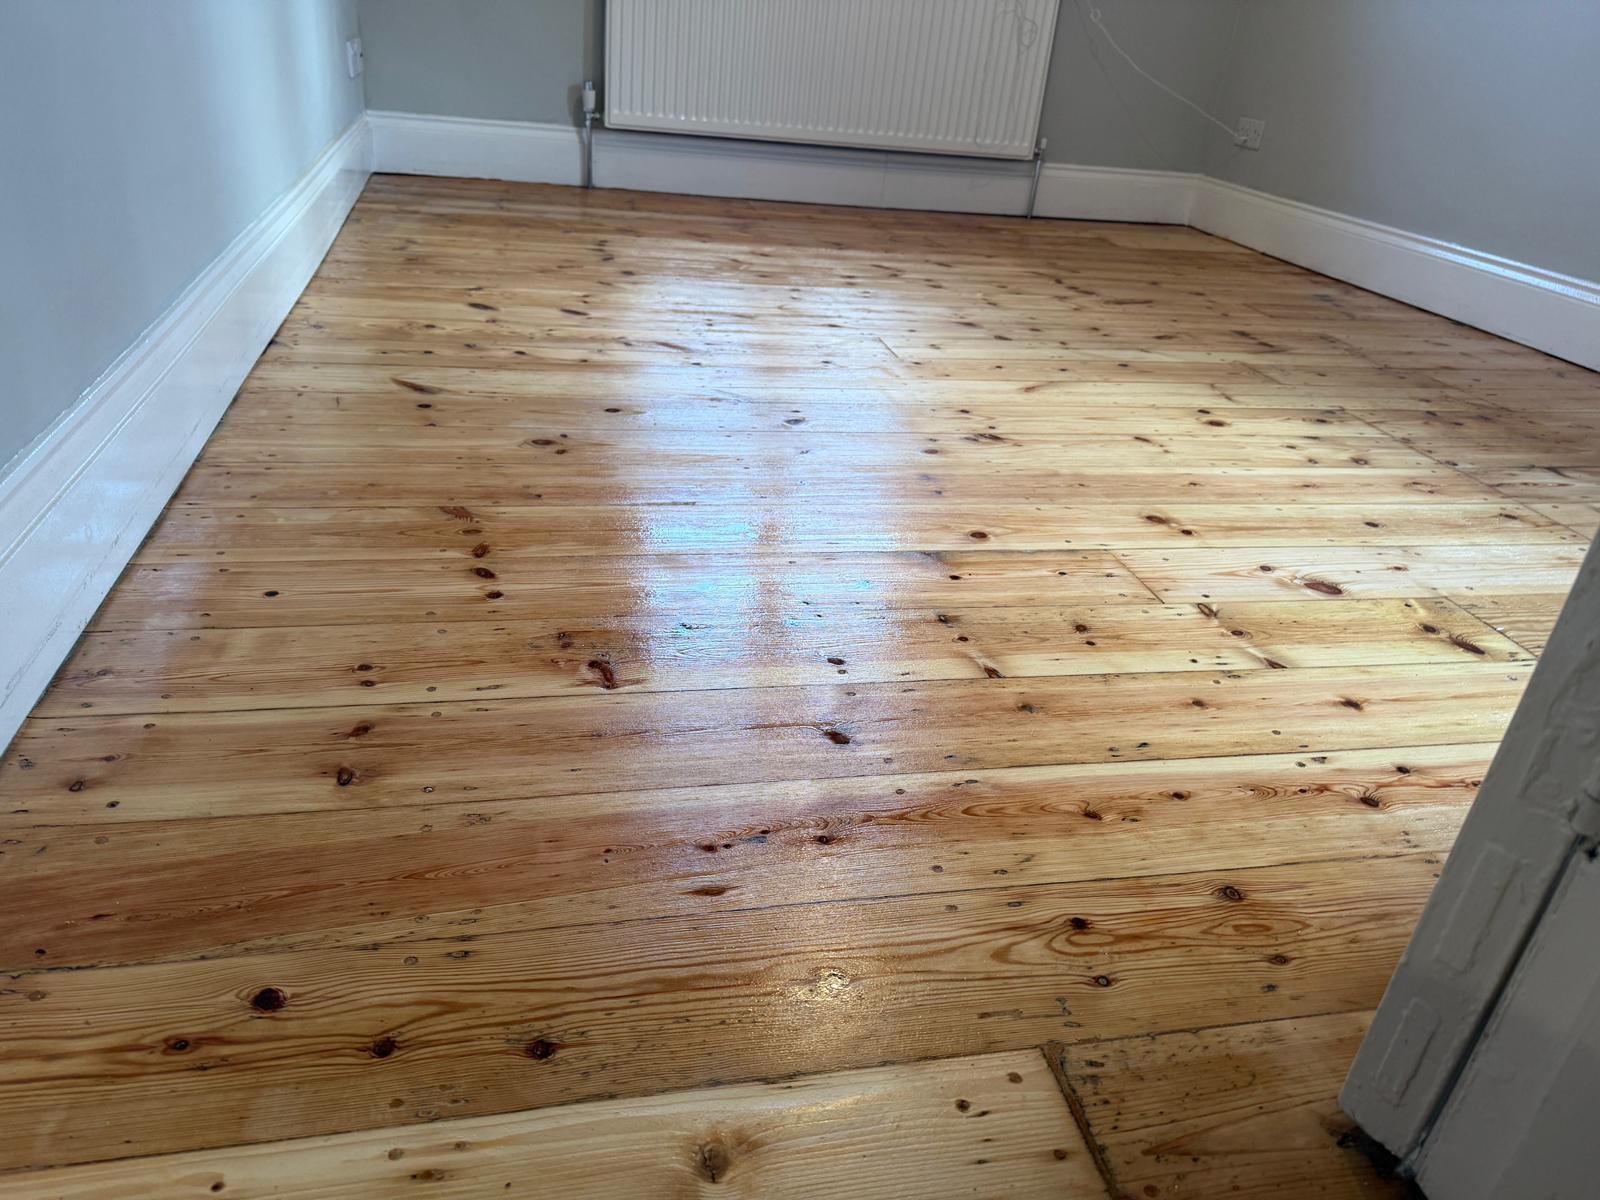
Transform Dull Timber Floors with Professional Wood Floor Sanding in Chelsea
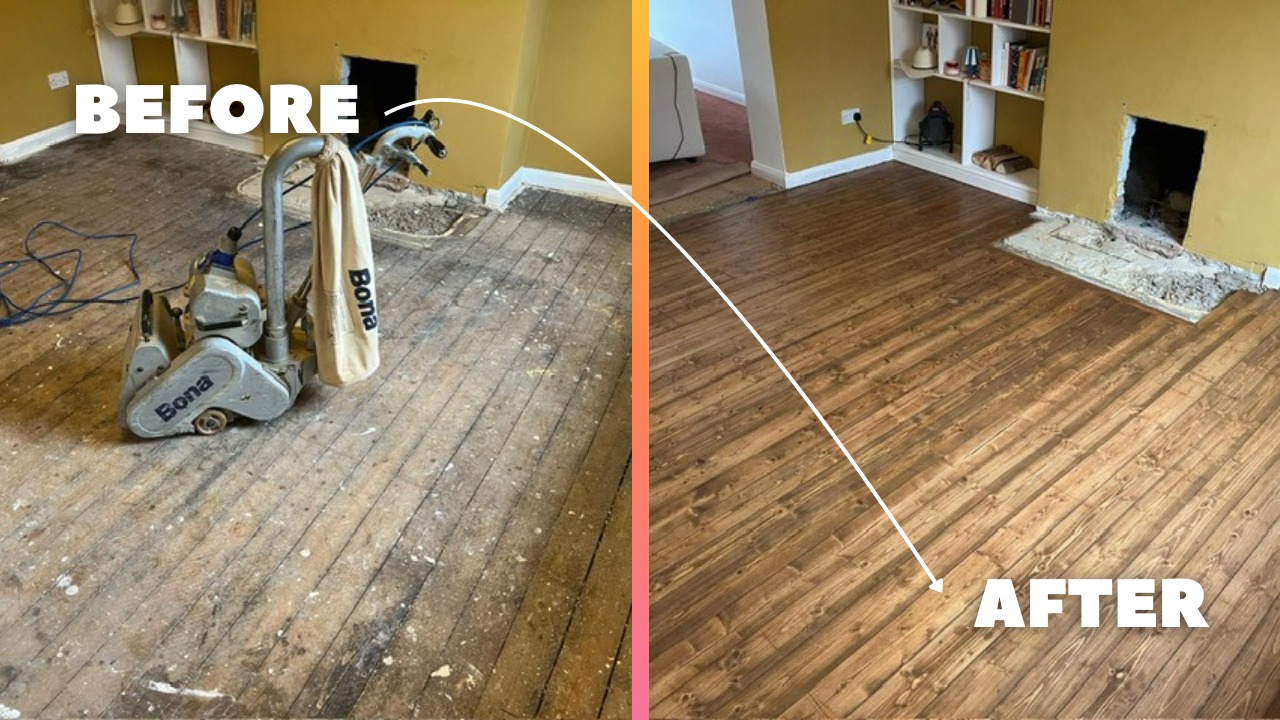
If your timber floors in Chelsea are looking tired—scratches, dull patches, grey wear-lanes, old varnish that’s gone orange, or boards that creak and shift—there’s good news: you don’t need to replace them. With professional sanding and the right finish, most wood floors can look spectacular again, and they’ll be easier to keep clean too.
At Floor Sanding Chelsea we restore floors the way they should be restored: carefully, cleanly, and with a finish that suits your home and how you actually live in it. Whether you’re in a classic Chelsea townhouse off the King’s Road, a modern apartment near Sloane Square, or a family home close to the river, we tailor every step for your floor type, your property, and your schedule.
This guide explains what “expert” sanding really means, how the process works, what finishes are best for Chelsea homes, and how to get the kind of “wow” result you’ll be proud to show off.
Why wood floor sanding is the smartest upgrade for Chelsea homes
Chelsea properties are known for style, character, and strong resale value—so the details matter. And few details change the feel of a room as much as the floor. A freshly restored wood floor can:
- Brighten rooms by reflecting more natural light
- Make spaces feel bigger, cleaner, and more premium
- Remove stains, scratches, scuffs, and uneven colour
- Improve hygiene by removing trapped dirt in worn finishes
- Help protect your investment with a tougher surface finish
Most importantly, sanding and refinishing is typically far more cost-effective than replacement—and it keeps the original character intact.
If you’re searching for wood floor sanding in Chelsea that looks high-end (not “DIY-ish”), the difference is in the prep, the machinery, the abrasives, and the finishing system.
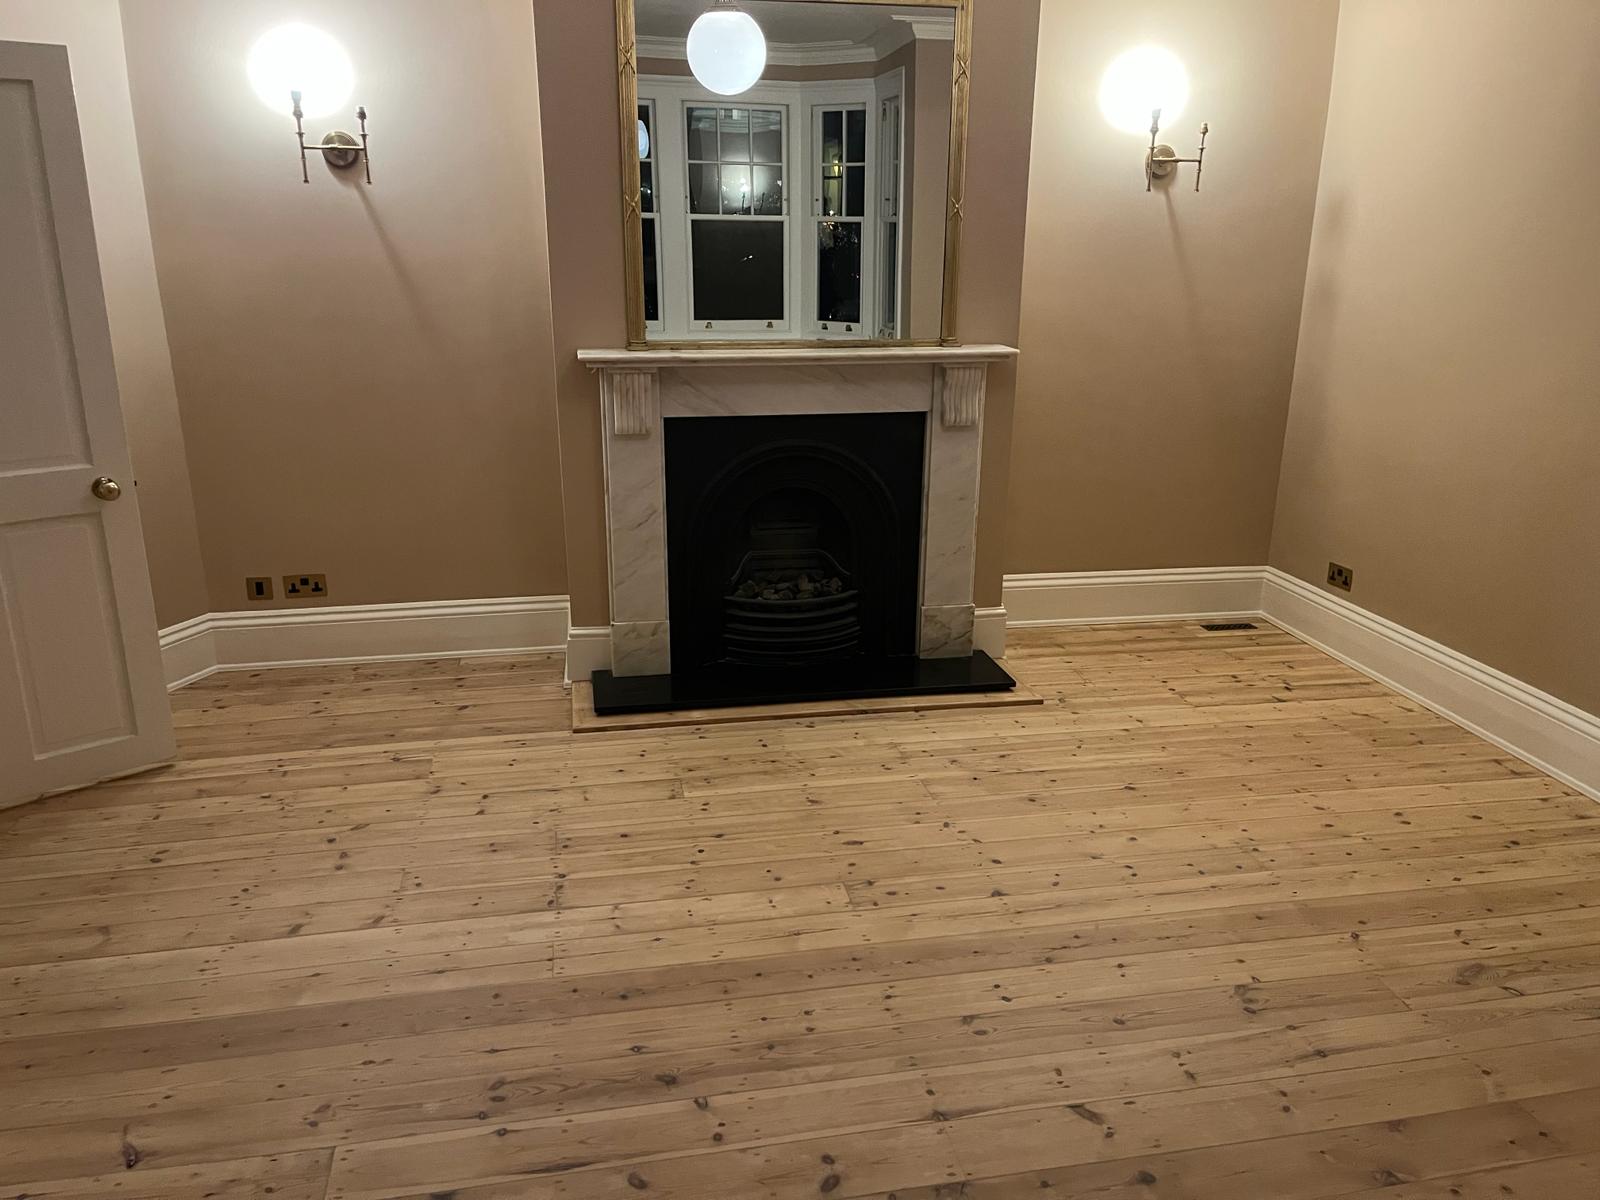
What counts as “expert” wood floor sanding?
Plenty of companies can sand a floor. Expert sanding is about doing it evenly, cleanly, and correctly for the timber, so the finish looks consistent in all lighting and lasts longer.
Here’s what expert workmanship includes:
1) Correct assessment of your floor type
Chelsea homes often have a mix of:
- Solid hardwood boards (oak, pine, walnut, etc.)
- Parquet blocks (herringbone, basket weave)
- Engineered boards (thin wear layer—needs careful sanding)
- Stairs and landings with different timber/previous coatings
An expert checks thickness, movement, previous coatings, damage, and moisture-related issues before any sanding begins.
2) Flat, even sanding—without “waves”
A beautiful finish depends on a level surface. Experts use professional belt/drum equipment, correct grit sequencing, and edge blending, so you don’t get ripples, swirl marks, or “picture framing” around the room edges.
3) Dust control and tidy working methods
Modern sanding should be low-dust, carefully contained, and respectful of your home. Done properly, it’s a controlled process—not a dust storm.
4) Finishing knowledge (the step most people get wrong)
The finish is what you see and what you live on. Experts know when to use lacquer vs oil, how to avoid lap marks, how to manage drying times, and how to build a coating system that suits traffic levels.
To get a professional result from start to finish, book professional floor sanding services in Chelsea rather than taking chances with shortcuts.
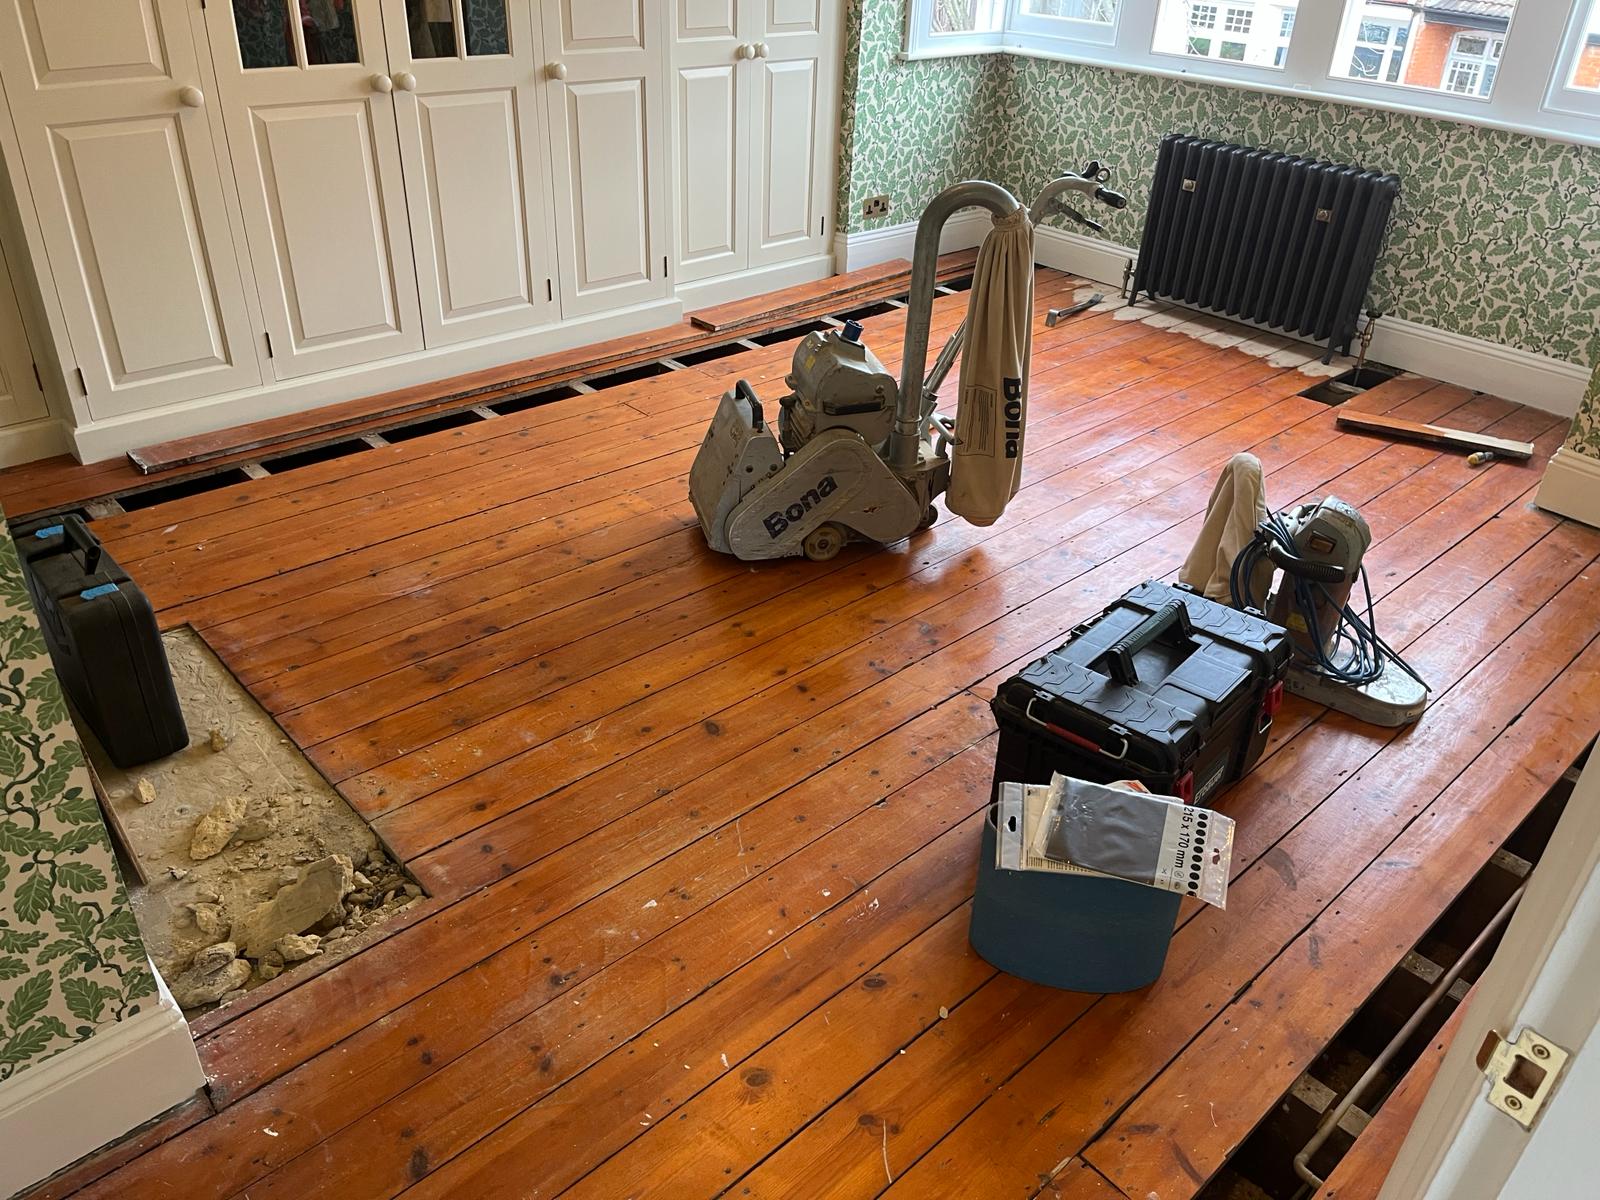
The step-by-step process: how your Chelsea floor is transformed
Every property is different, but the best results come from a proven system.
Step 1: Site visit and condition check
We look at:
- Timber type and floor thickness
- Existing coating (wax, varnish, oil, paint)
- Stains, pet damage, water marks
- Gaps, movement, squeaks, loose blocks
- Skirting details and thresholds
If repairs are needed, they’re planned before sanding begins so everything blends naturally.
Step 2: Prep that protects your home
Before sanding, we:
- Protect key areas and manage airflow
- Advise on furniture removal (or help plan it)
- Check for protruding nails/screws
- Secure loose boards or parquet blocks
This is what prevents future issues like chatter marks and premature finish failure.
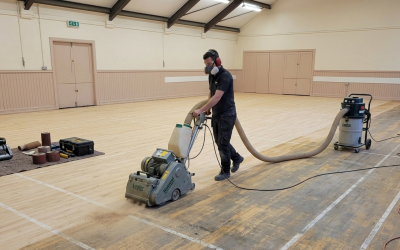
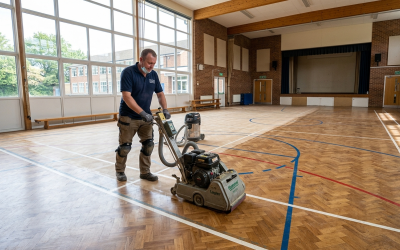
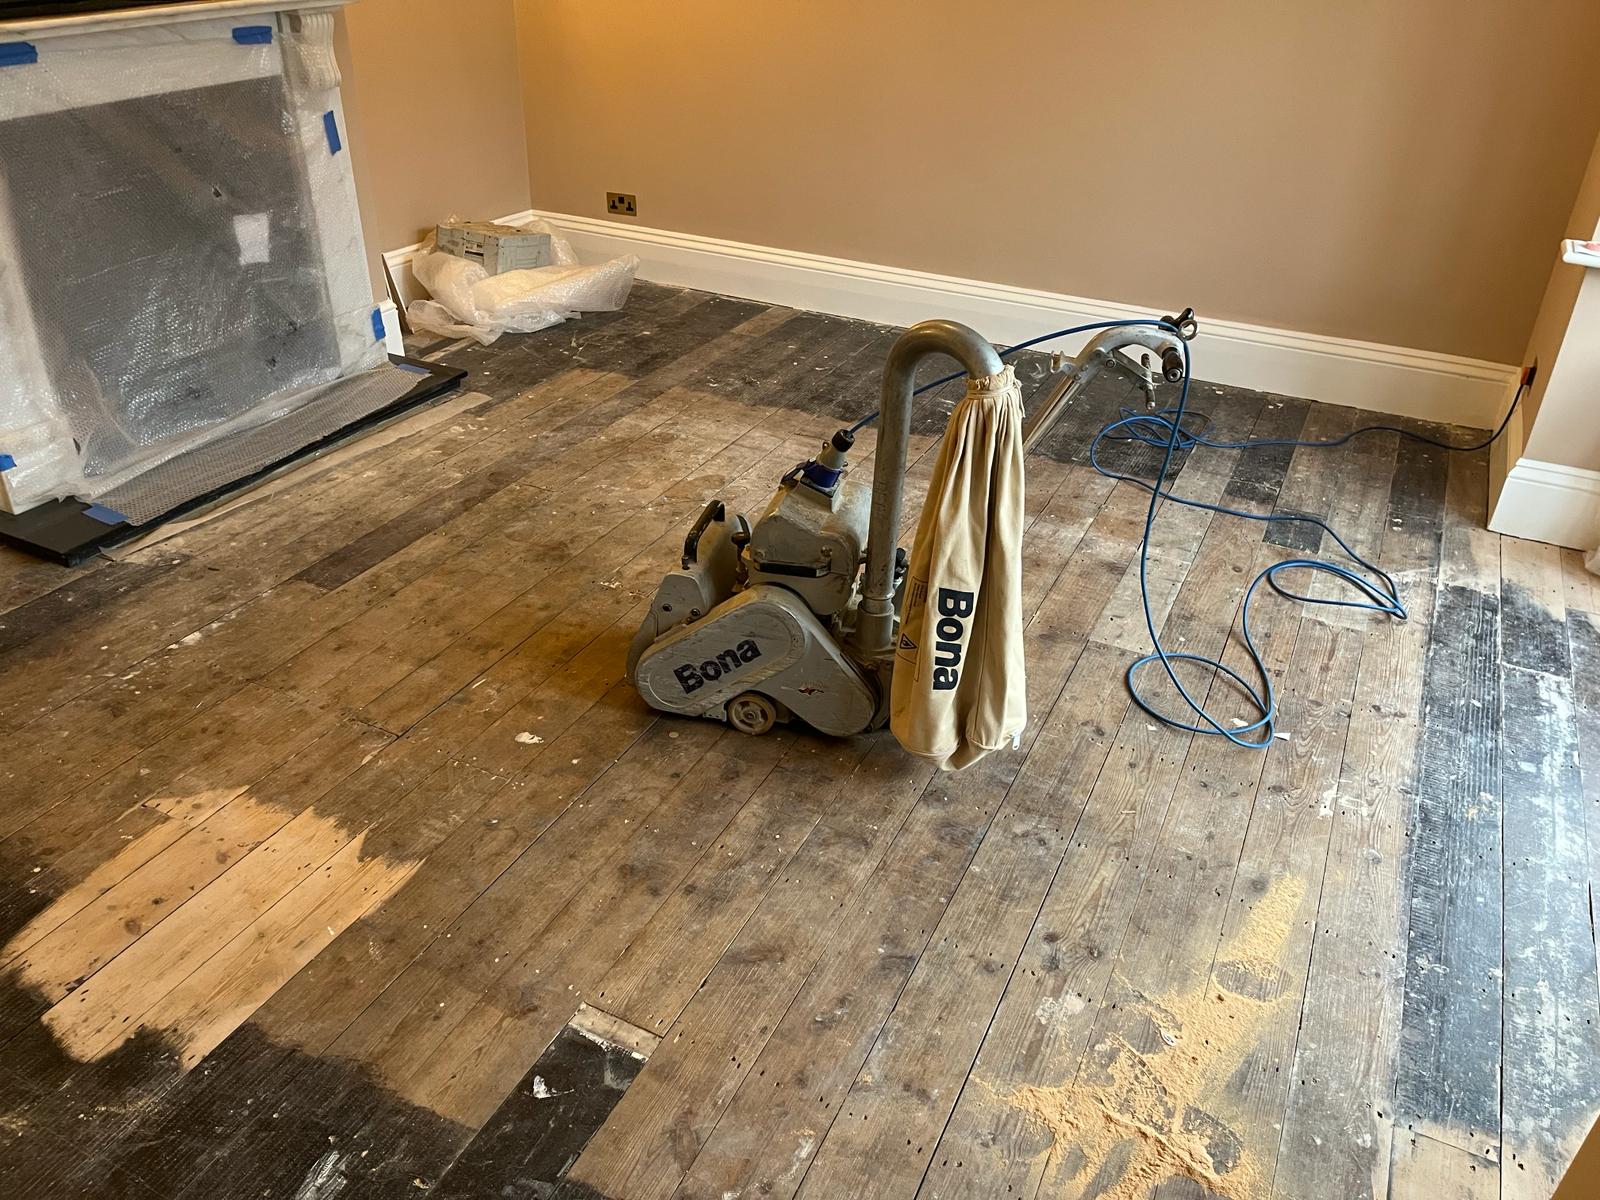
Step 3: Professional sanding (multi-stage)
A proper sanding sequence typically includes:
- A coarse cut to remove old finish and flatten the floor
- Medium grits to refine the surface
- Fine grits to prepare for finishing
- Edge sanding and blending so borders match the field perfectly
- Detailed sanding in corners and around tight features
This is where Chelsea floors gain that smooth, luxury feel underfoot.
Step 4: Repairs, gap filling, and detail work
Depending on your floor, we may recommend:
- floor repairs in Chelsea (replacing damaged boards/blocks, re-fixing loose areas)
- gap filling to improve appearance and reduce dirt traps
- Stain treatment (where possible)
- Careful colour matching for replacement timber
Not every floor needs filling—some movement is natural—so we’ll advise what’s best rather than what’s easiest.
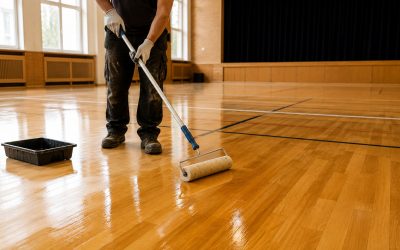
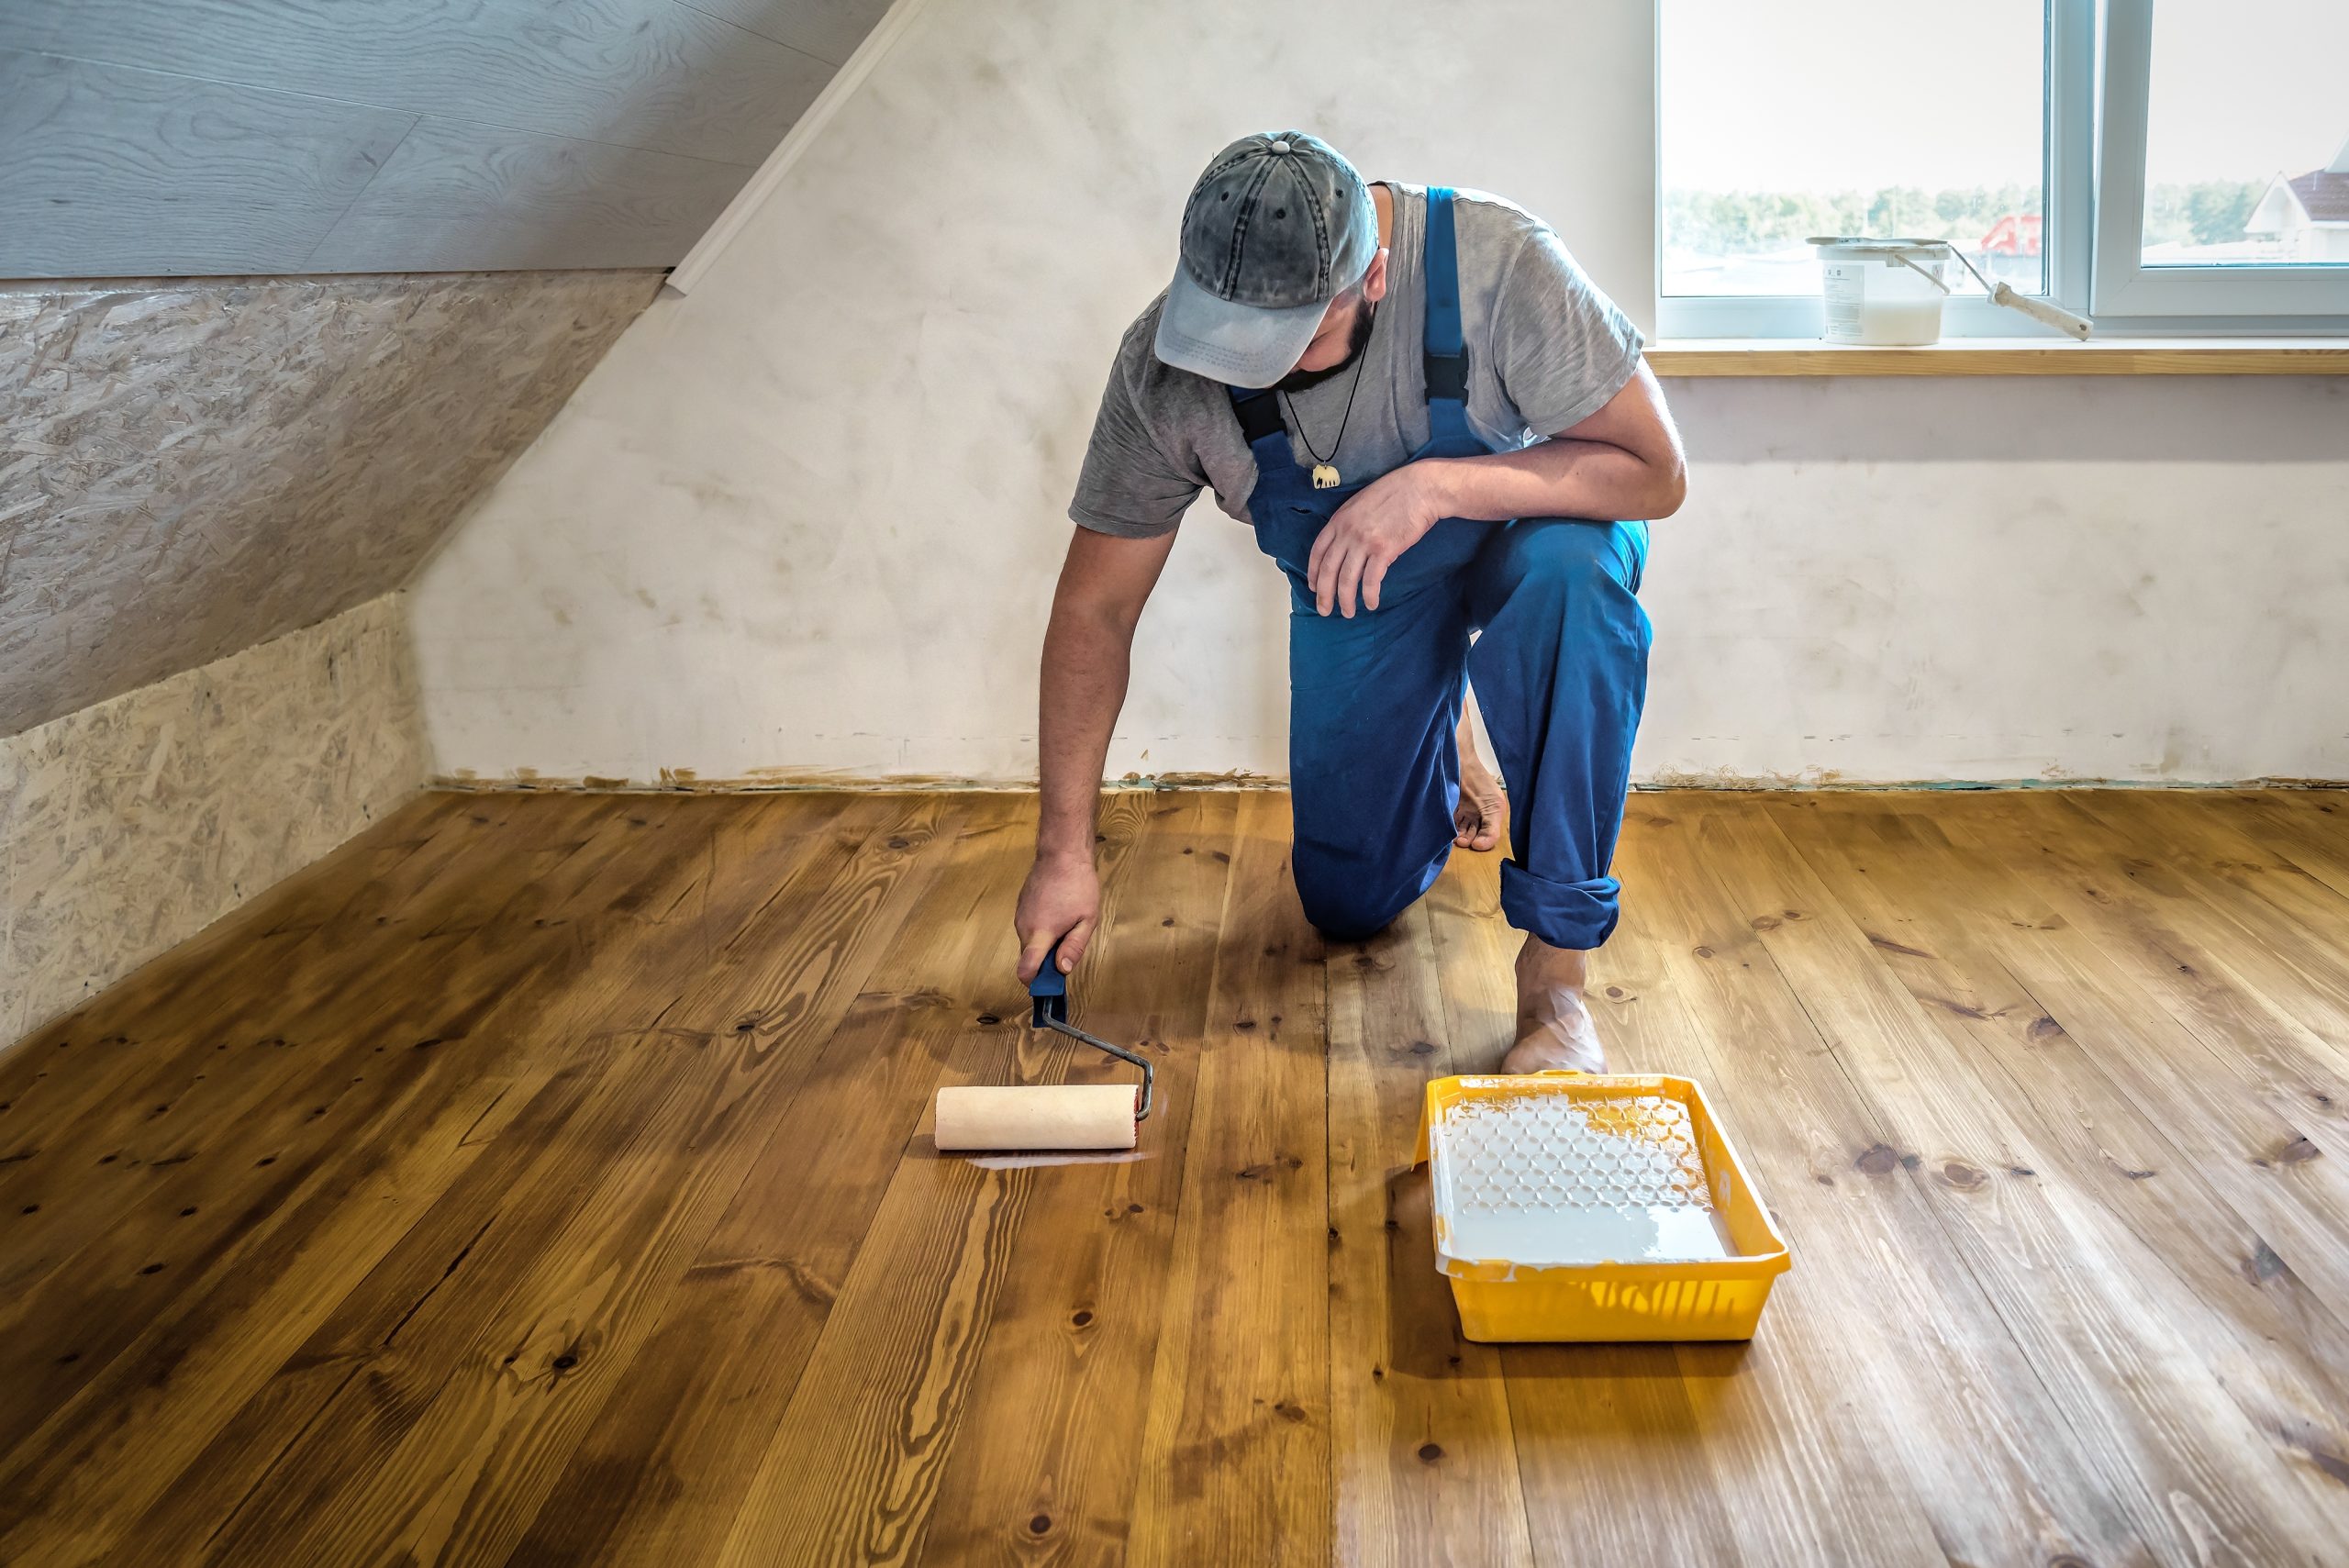
Step 5: Finishing (the “stunning results” stage)
We apply the system suited to your lifestyle and aesthetic:
- floor lacquering in Chelsea for durable, clean-lined protection
- hardwax oil finishes for a natural, modern look and easy patch repairs
- Optional staining/toning for colour change or uniformity
Finally, we guide you on curing times and aftercare so the finish reaches full strength.
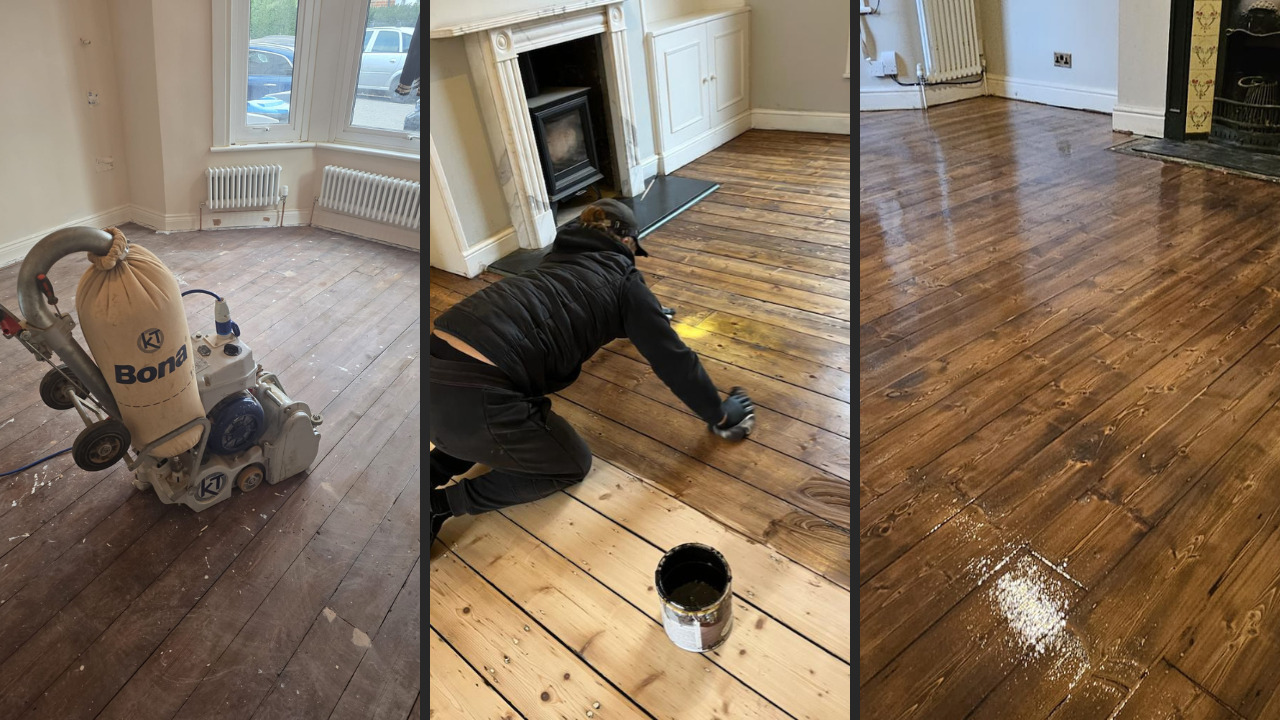
Choosing the right finish for Chelsea living
The finish you choose matters as much as the sanding quality. Here’s a practical guide.
Option A: Lacquer (water-based polyurethane)
Best for: busy homes, rentals, high foot traffic, easy cleaning
Pros
- Highly durable surface layer
- Great for hallways and living areas
- Multiple sheen options (matt/satin/gloss)
- Minimal colour change (especially modern water-based systems)
Considerations
- Deep scratches can require re-coating larger areas
- Needs correct curing time before heavy use
If you want a sleek, contemporary finish that stands up to daily life, choose wood floor sealing and lacquering in Chelsea.
Option B: Hardwax oil
Best for: natural look, character homes, easier spot maintenance
Pros
- Beautiful “raw timber” style
- Enhances grain and warmth
- Can be spot-repaired in many cases
- Great for period properties and parquet
Considerations
- Needs periodic maintenance (depending on use)
- Not ideal if you want a “glass-like” surface
For Chelsea homes where warmth and texture matter, oiling and finishing services are often the perfect match.
Option C: Staining (colour change)
Best for: modernising orange pine, matching décor, evening tone
Staining can deliver dramatic upgrades—lighter, darker, warmer, cooler—but it needs expertise. The timber type, previous finish, and sanding quality all affect the final shade. We can advise on what’s realistic for your exact floor.
Parquet floor sanding in Chelsea: herringbone done properly
Chelsea has plenty of parquet—especially herringbone—and it’s one of the most rewarding floors to restore. But it’s also easy to damage if rushed.
Parquet requires:
- Extra care around pattern direction and block edges
- Proper leveling without ripping into the block tops
- Specialist filling for gaps (where appropriate)
- Finishing that highlights the pattern without plastic-looking build-up
If you have parquet, choose parquet floor sanding in Chelsea so the detail work matches the premium look you’re after.
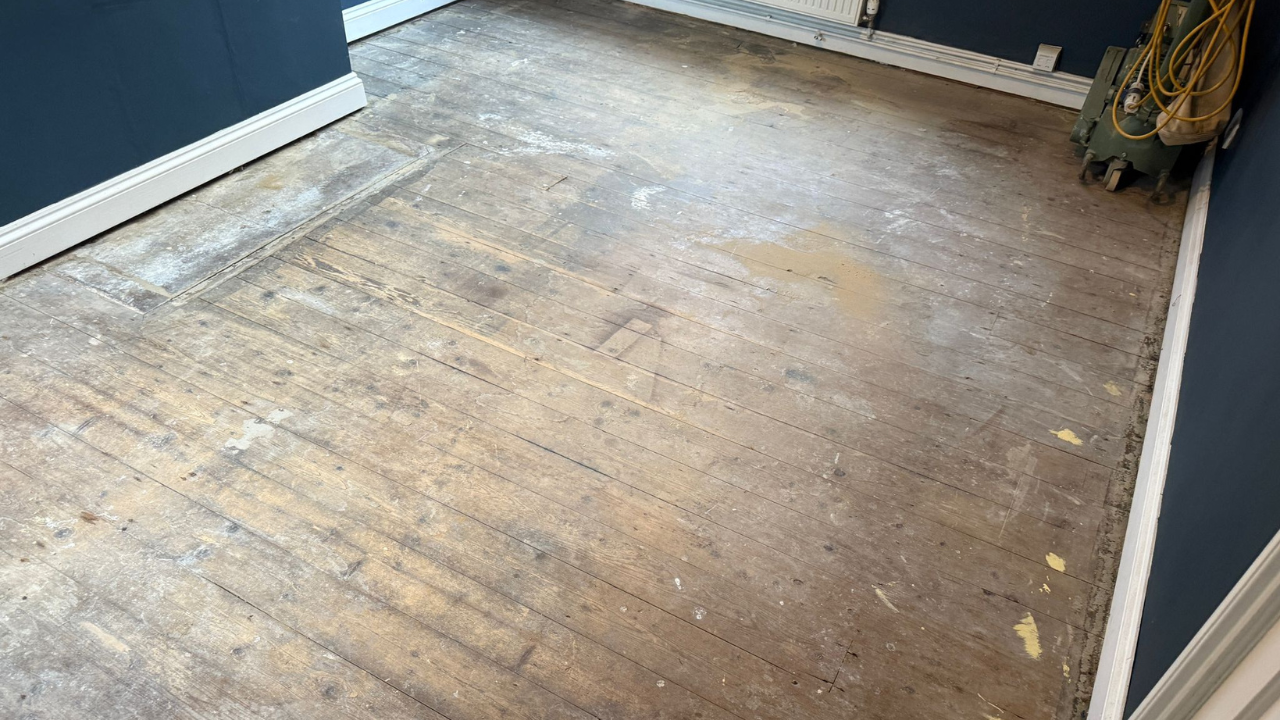
Common problems we fix during wood floor sanding
Scratches, scuffs, and dull patches
These usually sand out completely unless they’re very deep. Even then, blending and finishing can significantly reduce their visibility.
Water stains and dark marks
Some stains lift with sanding; others run deeper into the timber. We’ll explain the likely outcome and any stain-treatment options.
Uneven colour and old varnish “yellowing”
Older varnishes often go amber. Sanding removes the old layer so you can choose a cleaner, modern finish.
Gaps and movement
Some gaps are seasonal and normal. If gaps are excessive, we can advise on filling methods and repairs.
Creaks and loose boards
When accessible, we can often improve squeaks by securing boards properly—especially before finishing locks everything in.
For issues beyond sanding alone, our wood floor repair service in Chelsea can restore both looks and structure.
How long does floor sanding take?
Time depends on size, condition, and finish choice, but as a general guide:
- 1 room: often 1–2 days including finishing
- Multiple rooms: 2–5+ days depending on layout and drying times
- Stairs: can add time due to detail sanding and careful finishing
Oil and lacquer have different drying/curing schedules, and we’ll plan the project so it works with your household routine.
How to prepare for your Chelsea floor sanding appointment
To make the job run smoothly:
- Clear the rooms (or plan staged areas if you’re staying at home)
- Remove fragile items and wall-hung mirrors from vibration-prone areas
- Make sure there’s easy access and parking guidance if needed
- Let us know about underfloor heating, recent leaks, or pets
If you’re not sure what to move, we’ll guide you—simple, practical, no stress.
Aftercare: keep your newly sanded floor looking stunning
A great finish deserves smart maintenance. Here’s what makes the biggest difference:
First 7 days (important!)
- Avoid dragging furniture
- Use socks/slippers indoors
- Keep grit out (doormats are your best friend)
- Don’t wet-mop during early curing
Ongoing care
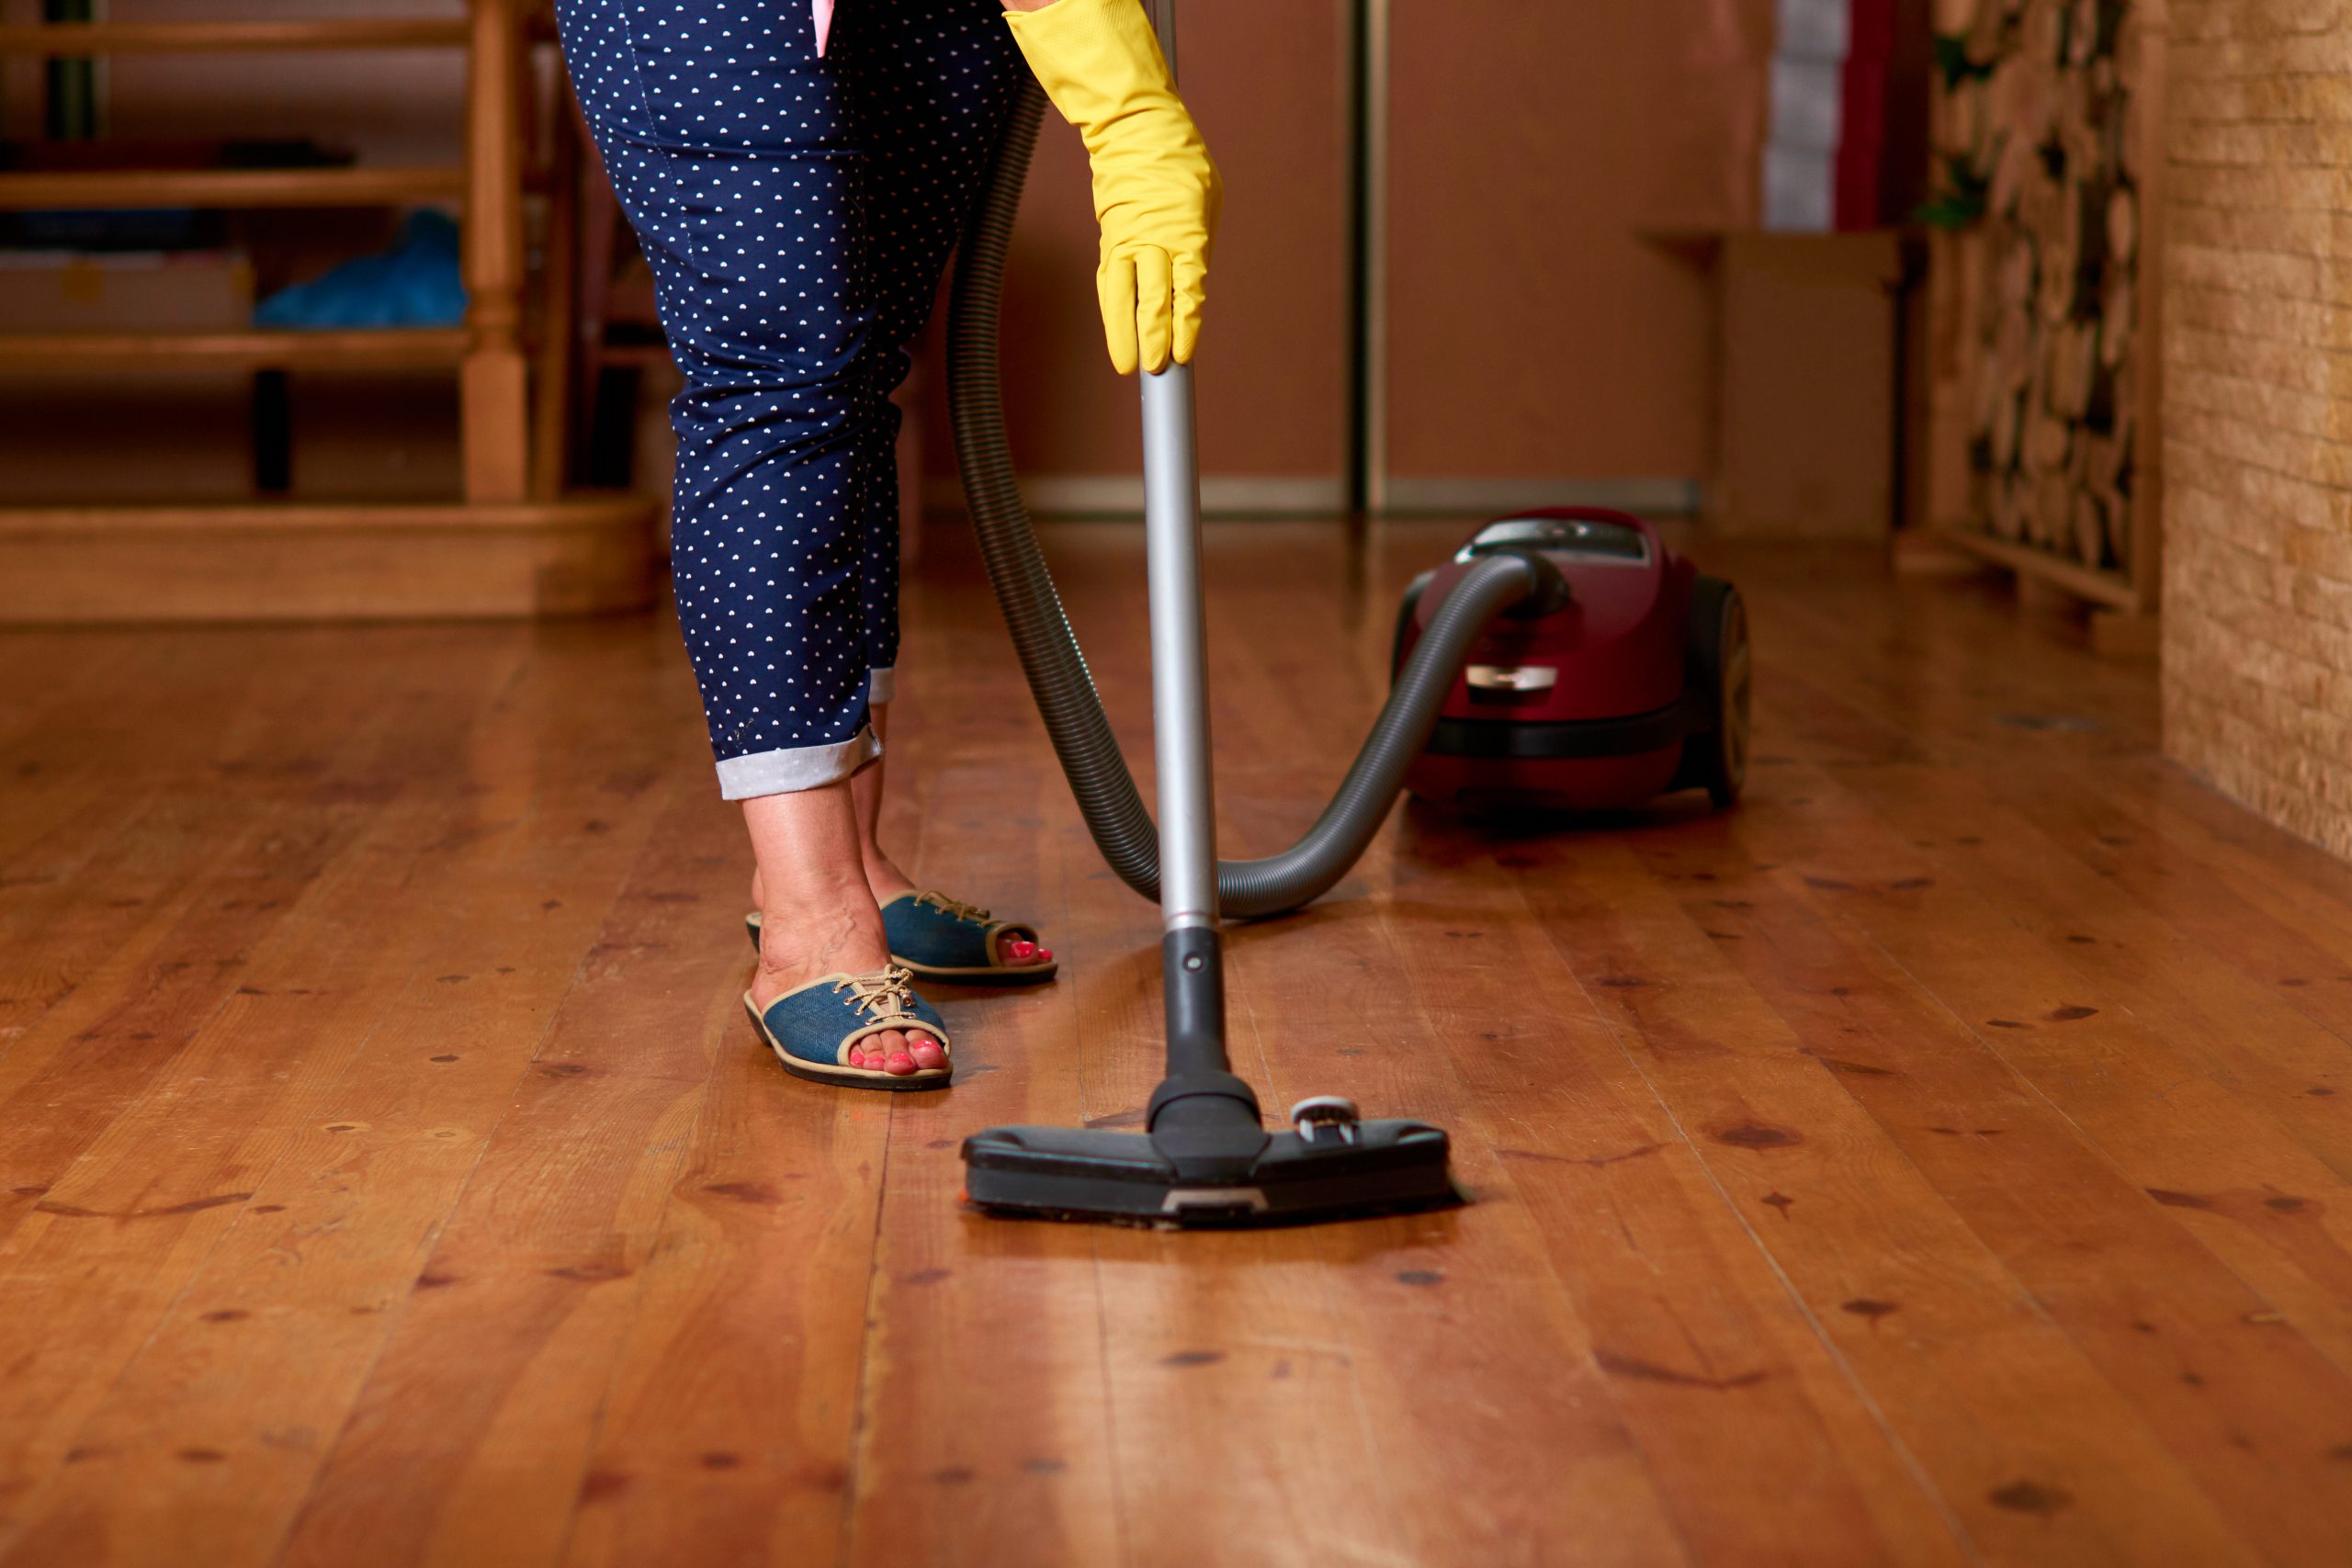
- Vacuum regularly with a soft floor head
- Use pH-neutral cleaners designed for your finish type
- Fit felt pads to chairs and furniture
- Lift, don’t drag, heavy items
- Trim pet nails to reduce scratching
If you choose oil, we’ll explain the maintenance routine (it’s simple when done right). If you choose lacquer, we’ll advise on safe cleaners and when a maintenance coat may be beneficial.
Why Chelsea clients choose Floor Sanding Chelsea
When you’re investing in your home, you want confidence—not guesswork. Clients choose Floor Sanding Chelsea for:
- Skilled sanding that looks even in natural light and evening lighting
- Careful edge blending and detail finishing
- Advice on the best finish for your lifestyle and décor
- Repair options that blend seamlessly
- A tidy, respectful approach from start to final coat
Our goal is simple: floors that look stunning now—and still look great years from today.
Get a free quote for expert wood floor sanding in Chelsea
If your floor is worn, scratched, stained, or simply outdated, let’s bring it back to life. The fastest way to start is to book an assessment and get clear advice on what your floor needs, what it will look like after restoration, and the best finish for your home.
👉 Visit Floor Sanding Chelsea to enquire about wood floor sanding in Chelsea, parquet floor restoration, floor repairs, and floor sealing and finishing—and get the stunning results your Chelsea home deserves.